Free Mushroom Crochet Pattern

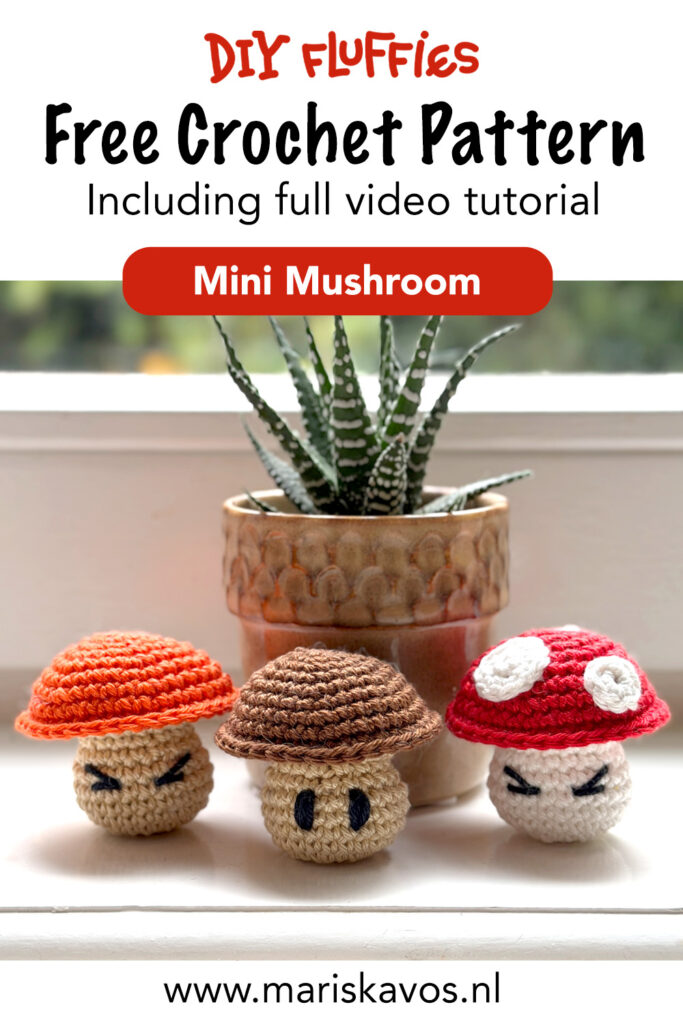
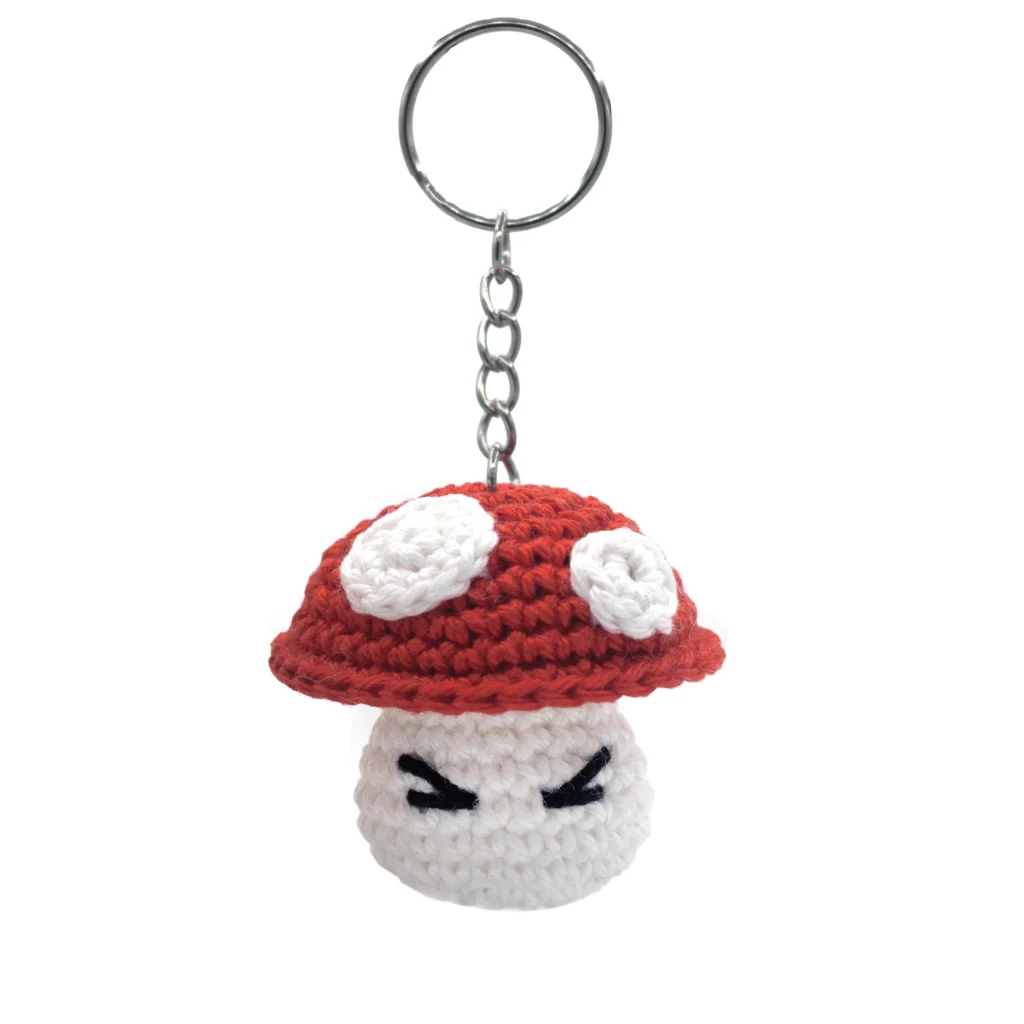
This is an easy beginner friendly free mushroom crochet pattern, including a full video tutorial to make your own cute Mini Mushroom Amigurumi keychain. This pattern includes two different face options, or you can leave the face off entirely for a simple, classic mushroom look. This is a quick and easy pattern, perfect for using up leftover yarn or making a fast handmade gift.
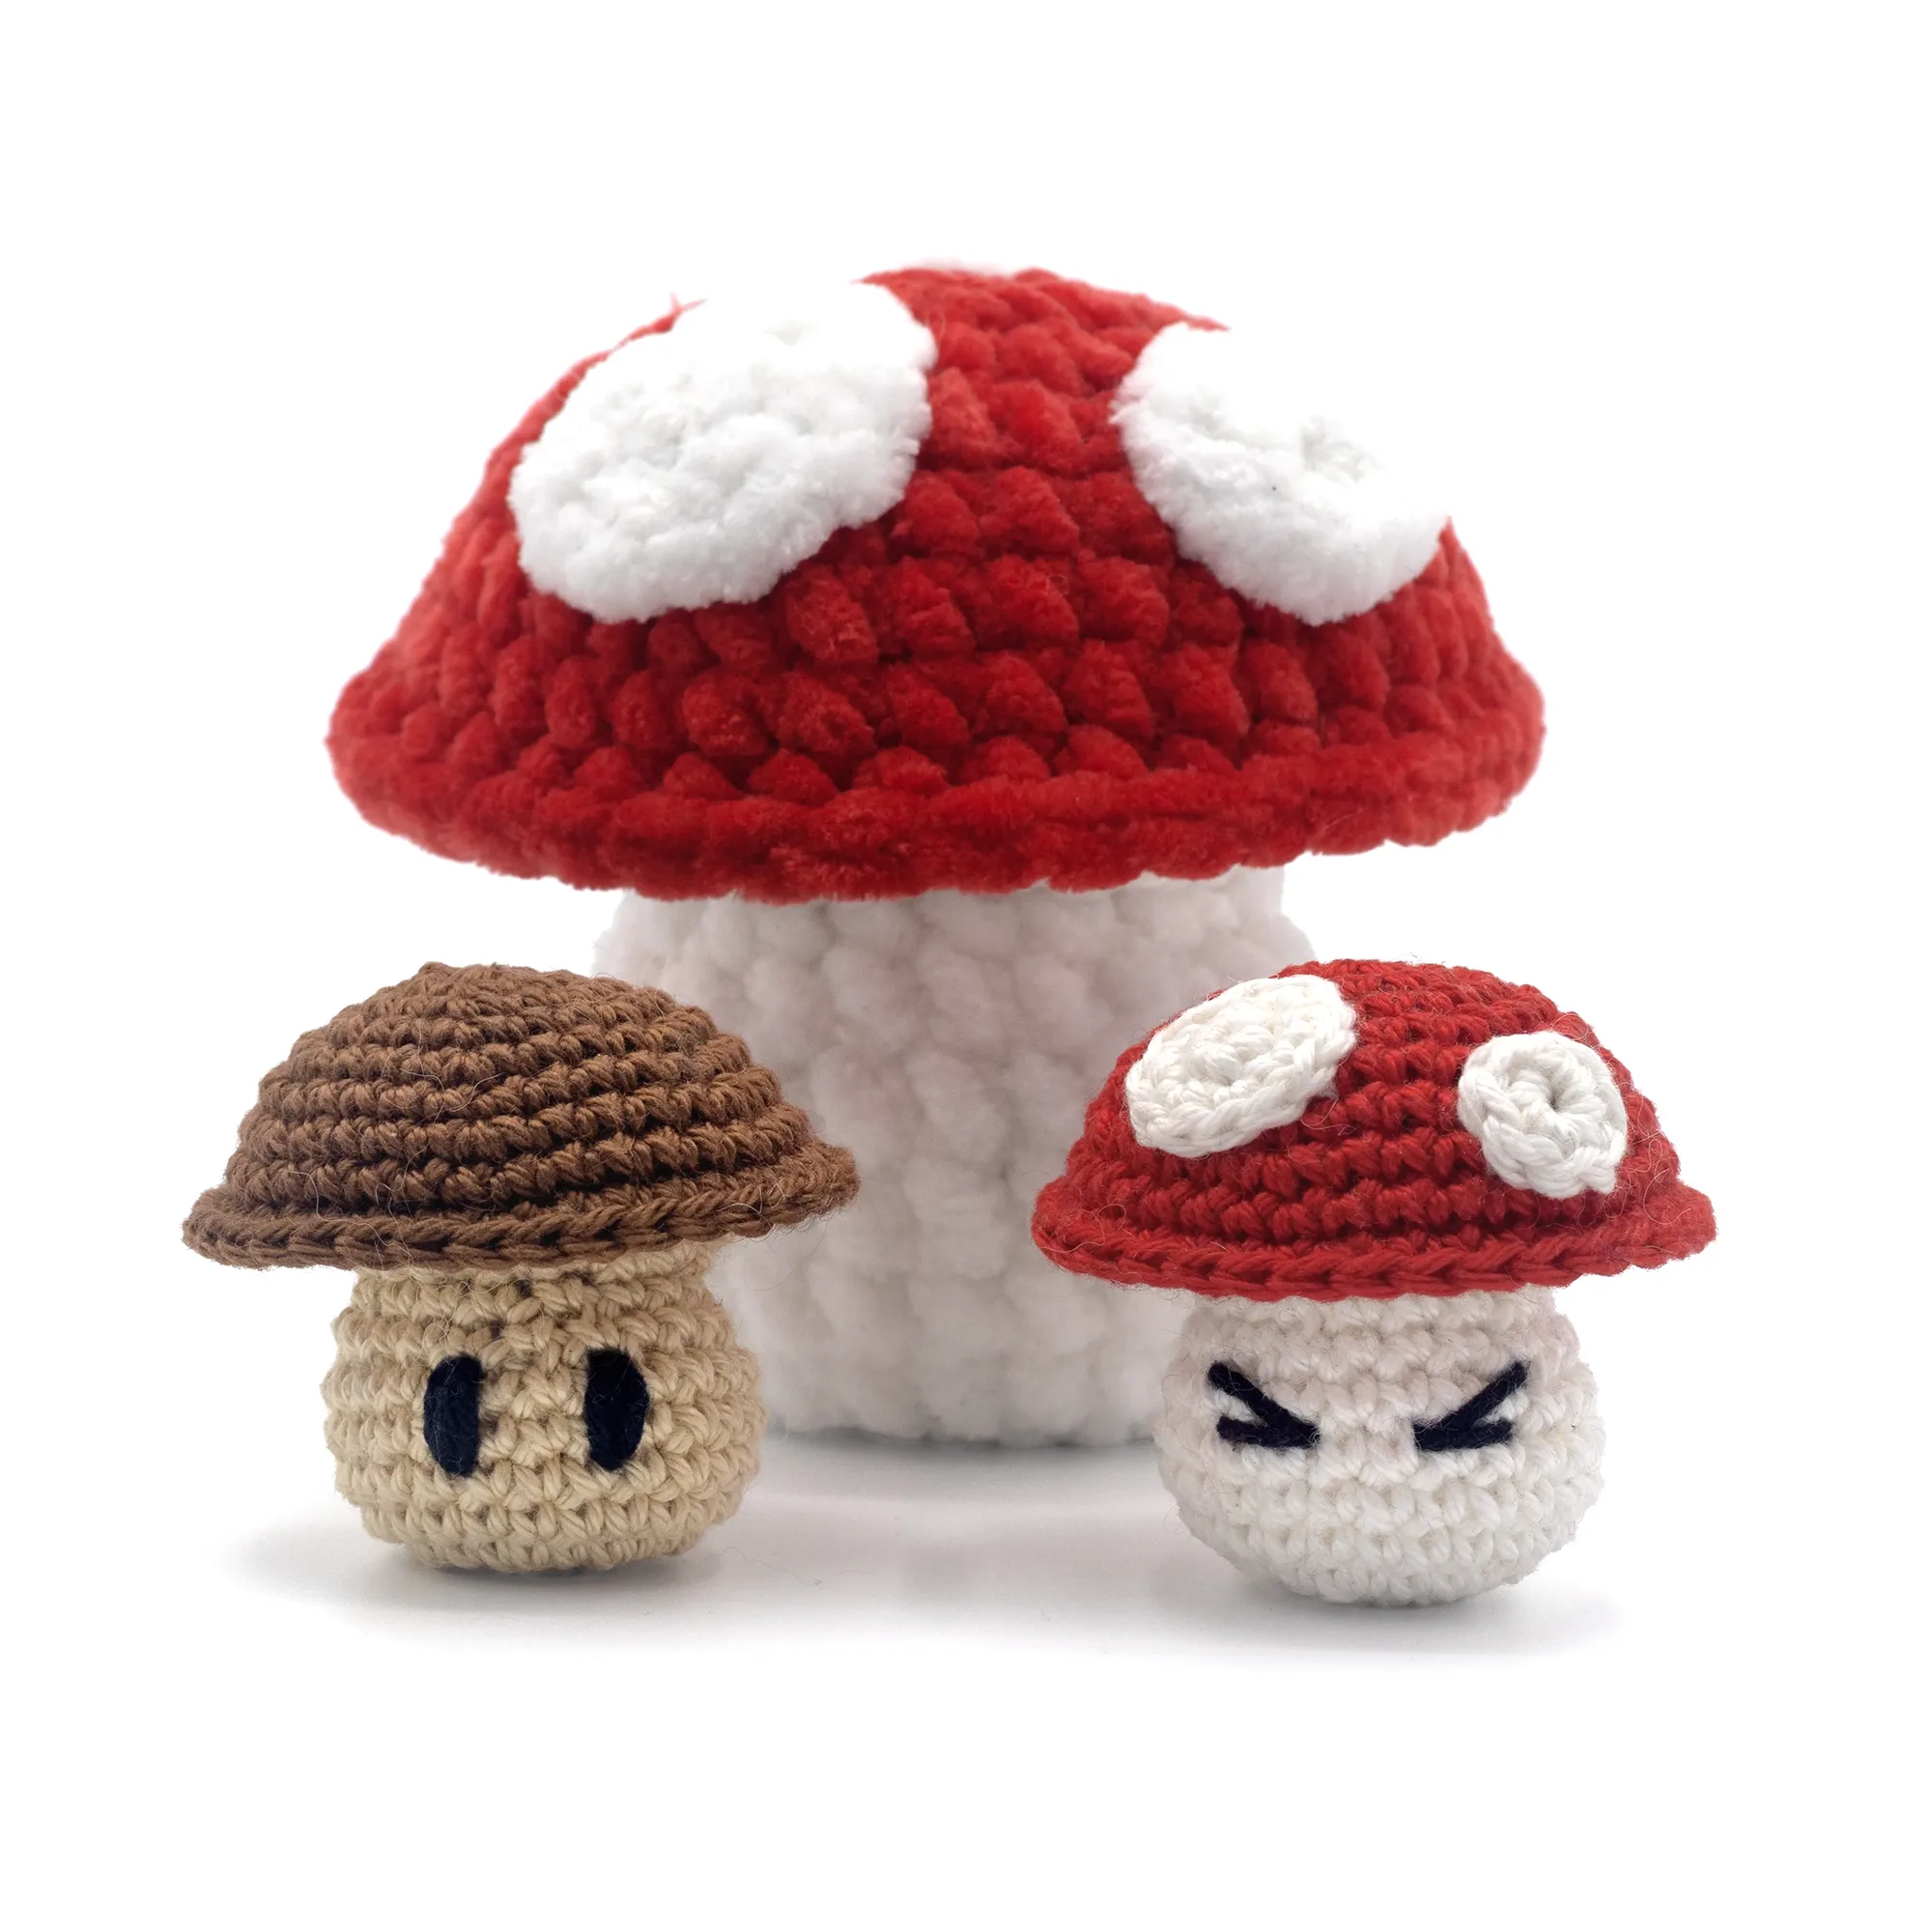
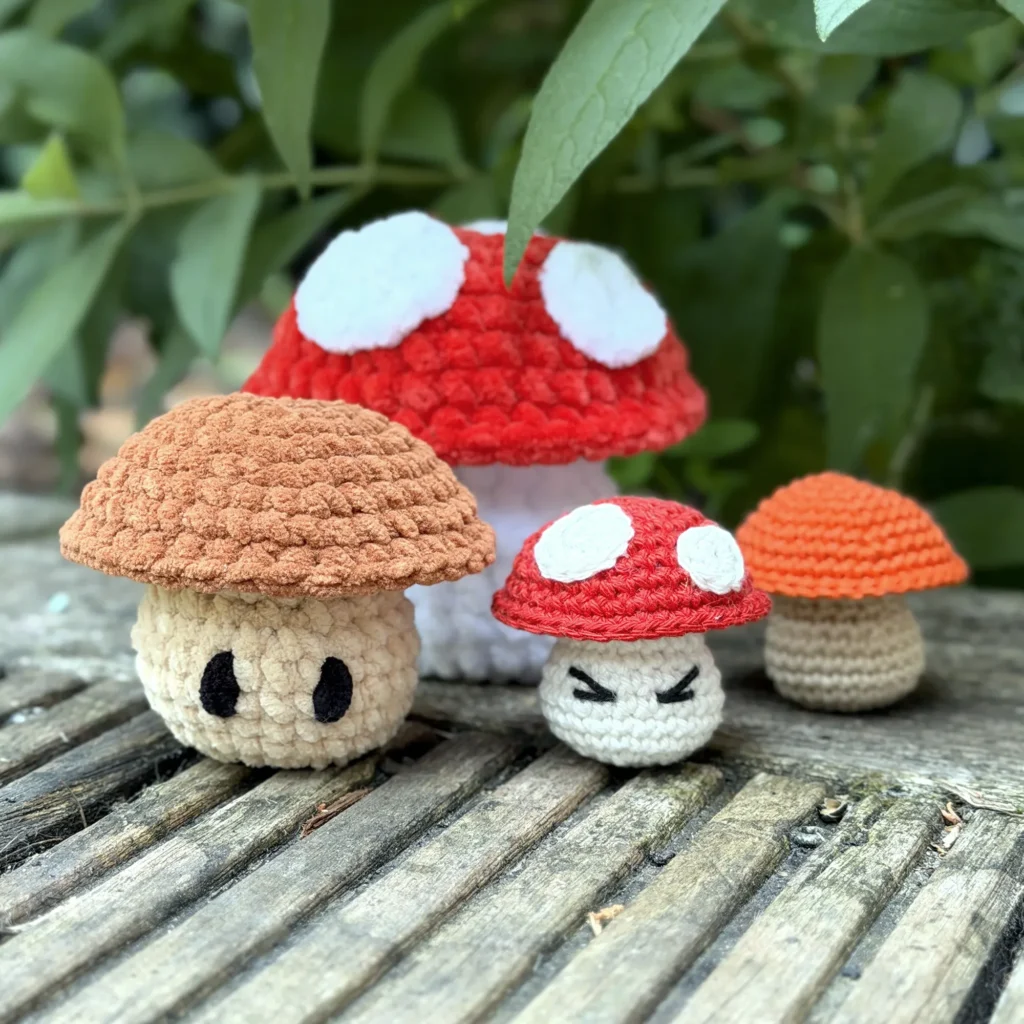
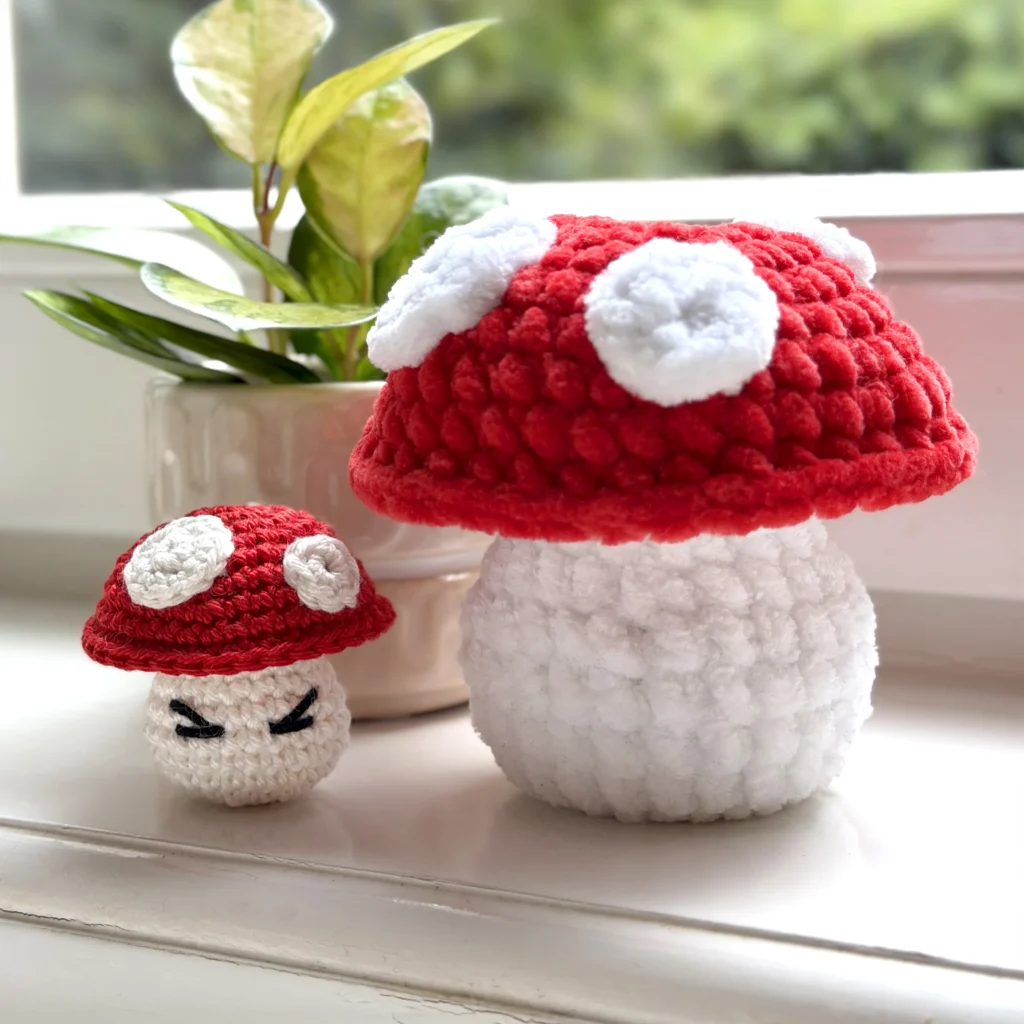
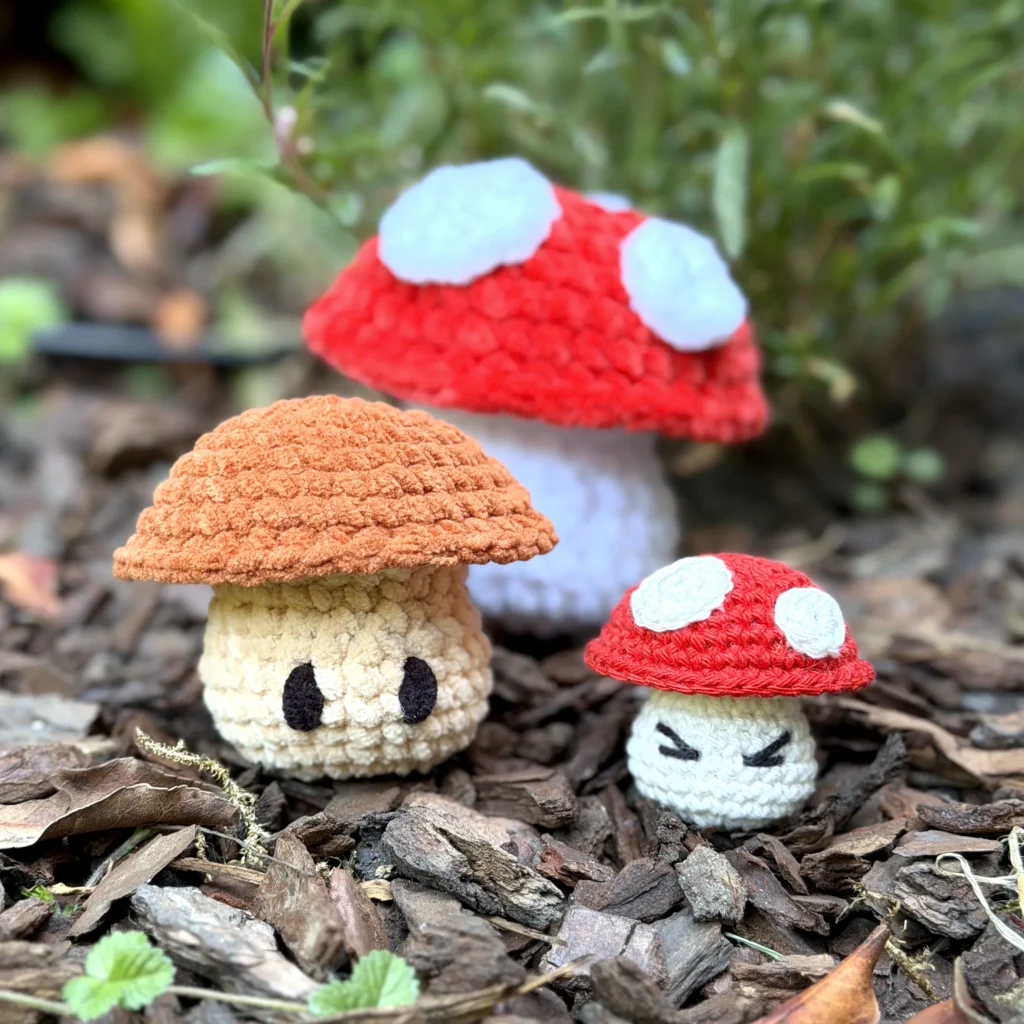
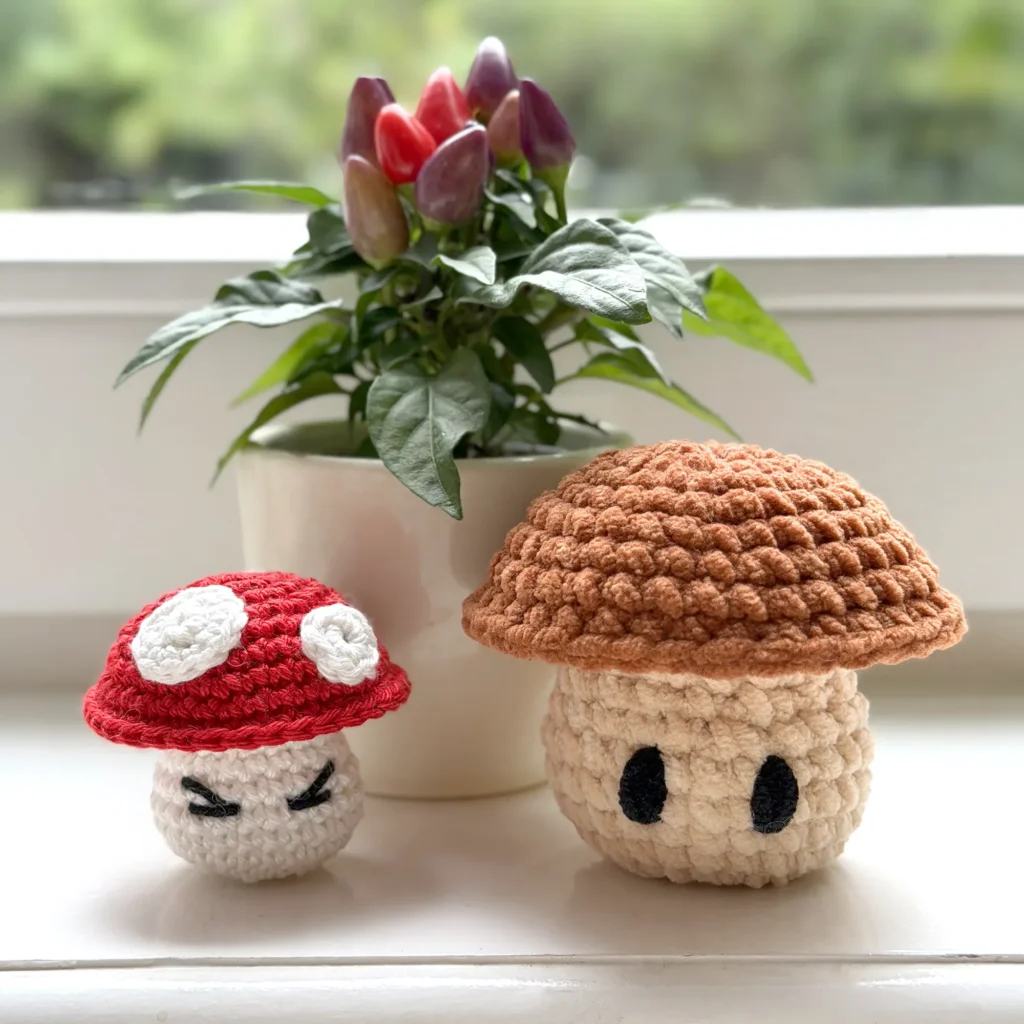
I love creating mini Amigurumi. With just a bit of yarn, you can easily create a cute gift in a few hours. There are many more mini Amigurumi on my blog, including full video tutorials. The small mushroom was made with Sport Weight Cotton yarn (2 inch / 4.5 cm), and the bigger one with Super Bulky yarn (4 inch / 10 cm). They are both made with the same pattern. You can use any yarn that you like to crochet this cute mushroom Amigurumi.
Want to see what others have crocheted with my patterns? Check out the Made by You gallery for inspiration from crocheters around the world.
Video Tutorial
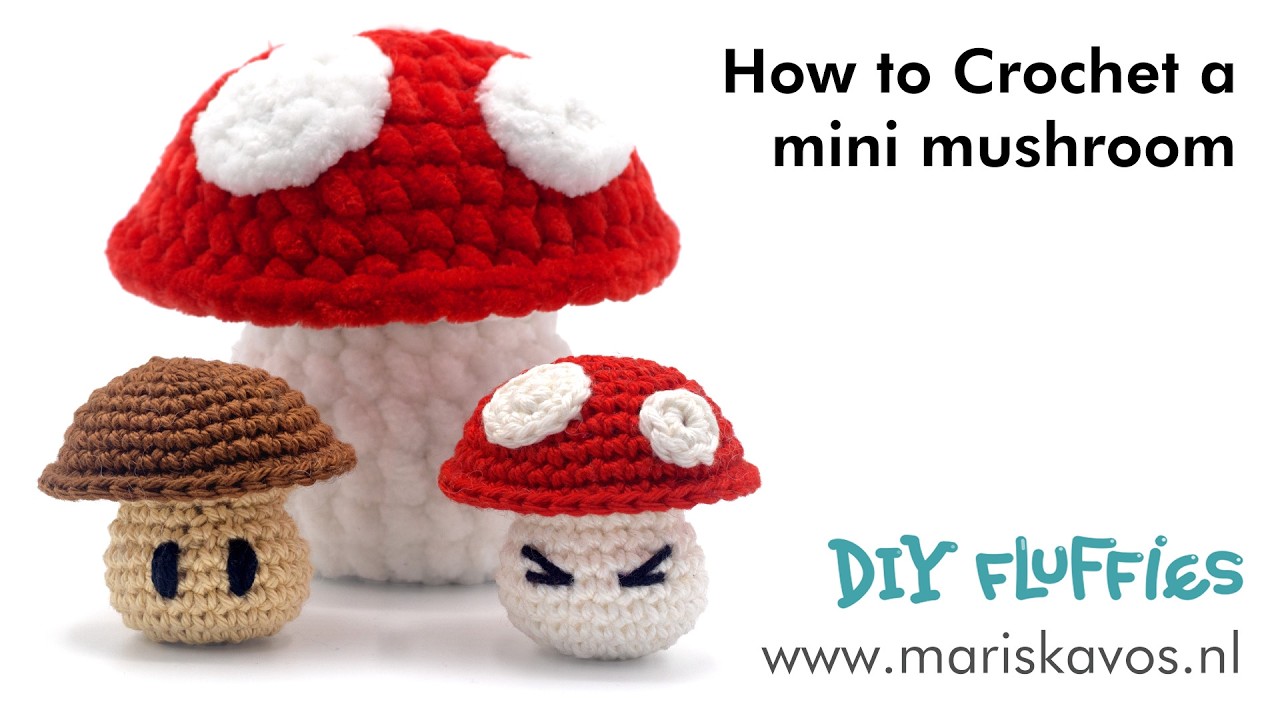
I also have made a full video on YouTube on how to crochet every step of this small mushroom keychain Amigurumi.
PDF Pattern Mushroom Crochet Pattern
PDF Pattern without ads:
If you prefer a pdf download or want to support me, you can buy the pdf pattern in my etsy shop, ravelry or amigurumi.com thank you so much for your support! (Keep scrolling for the free pattern)
Basic Stitches Tutorial
If you’re new to crocheting, don’t worry! Check out my beginner-friendly basic stitches tutorial, complete with numerous instructional videos. It covers everything you need to know to make your very own adorable Amigurumi mushroom plushie.
Materials:
These are the materials that I used. Feel free to replace them with other materials of your choice. If you wish to crochet a larger or smaller version of this food toy plushie using this free mushroom amigurumi crochet pattern, you can simply use a thicker or thinner yarn and crochet hook.
Cotton Sport Weight version 2 inch (4,5 cm)
– Yarn and Colors Must Have Red cotton color: 032
– Yarn and Colors Must Have White cotton color: 001
– Yarn and Colors Must Have Black cotton color: 100
– Synthetic Poly Filling
– Crochet hook size B/1 (2.5 mm)
Chenille Super Bulky version 3 inch (7 cm)
– Red, White, Black Chenille yarn
– Synthetic Poly Filling
– Crochet hook size G/6 (4 mm)
Search for a similar cotton yarn you can buy near you on YarnSUB
Chenille Super Bulky version 4 inch (10 cm)
– Red, White, Black Chenille yarn
– Synthetic Poly Filling
– Crochet hook size H/8 (5 mm)
Search for a similar chenille yarn you can buy near you on YarnSUB Chenille.
Supplies:
– Scissors
– Tapestry needles with blunt point, nr. 16 or 17
– Pins
Abbreviations (U.S. Terms) used in this cute crochet pattern:
(All abbreviations are explained in my basic stitches tutorial)
Rnd: Round
st: stitch
sc: single crochet
sl st: slip stitch
dec: decrease
inc: increase
TIP: Before starting this free mushroom crochet pattern, beginners should remember that there is a full video tutorial on how to make mushroom keychain plushie Amigurumi:
https://youtu.be/GOSbrMz4YR0
Free Mushroom Crochet Pattern
- Use White yarn
- Rnd 1: start 8 sc in a magic ring (8)
- Rnd 2: inc 8 times (16)
- Rnd 3: (sc, inc in next st) repeat 8 times (24)
- Rnd 4-7: sc in all 24 st (24)
- Rnd 8: (sc in next 4 st, dec) repeat 4 times (20)
- Rnd 9: (sc in next 3 st, dec) repeat 4 times (16)
- Rnd 10: FLO (sc, inc in next st) repeat 8 times (24)
- Rnd 11: (sc in next 3, inc in next st) repeat 6 times (30)
- Rnd 12: (sc in next 4, inc in next st) repeat 6 times (36)
- Fasten off
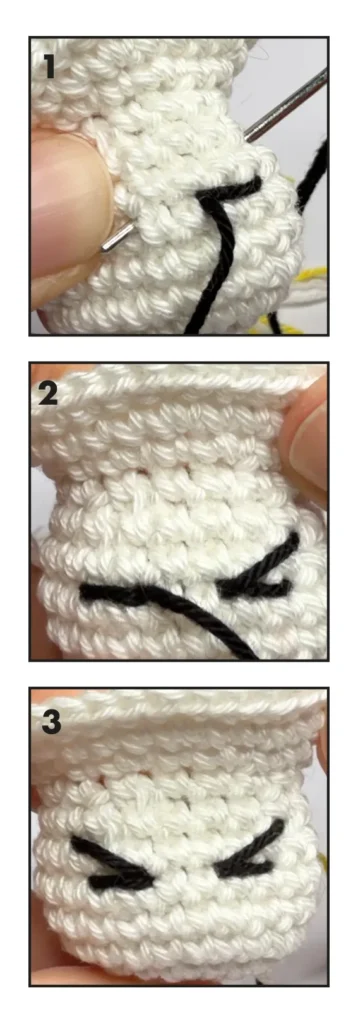
- If you want your mushroom to have a face, embroider two closed eyes over rouns 6 with an interspace of 2 stitches (photo 1-3).
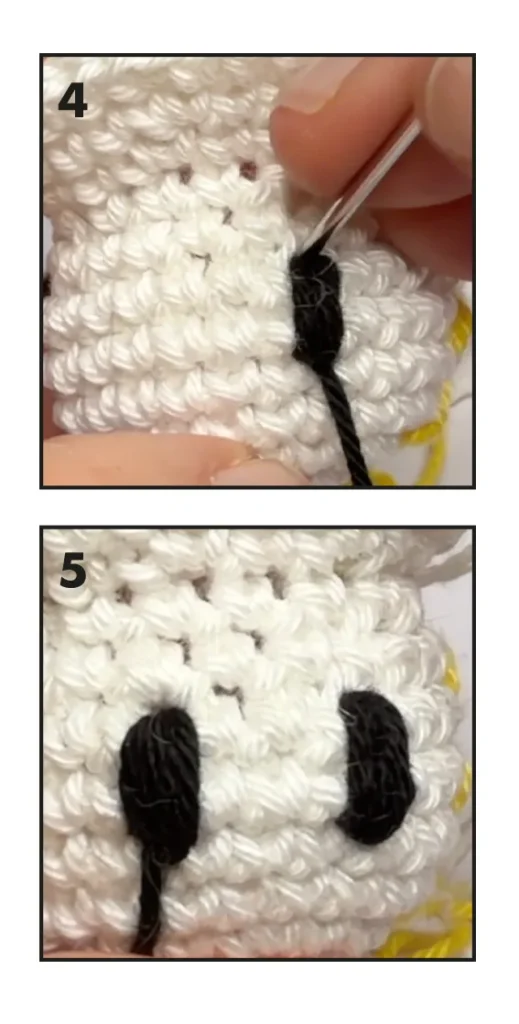
- Or embroider oval eyes over rounds 6 and 7, with in interspace of 3 stitches (photo 4-5)
- Stuff the mushroom with fiberfill and continue stuffing as you go.
Mushroom Cap:
- Rnd 1: start 6 sc in a magic ring (6)
- Rnd 2: inc 6 times (12)
- Rnd 3: (sc, inc in next st) repeat 6 times (18)
- Rnd 4: (sc in next 2 st, inc in next st) repeat 6 times (24)
- Rnd 5: (sc in next 3 st, inc in next st) repeat 6 times (30)
- Rnd 6: sc in all 30 st (30)
- Rnd 7: (sc in next 4 st, inc in next st) repeat 6 times (36)
- Rnd 8: sc in all 36 st (36)
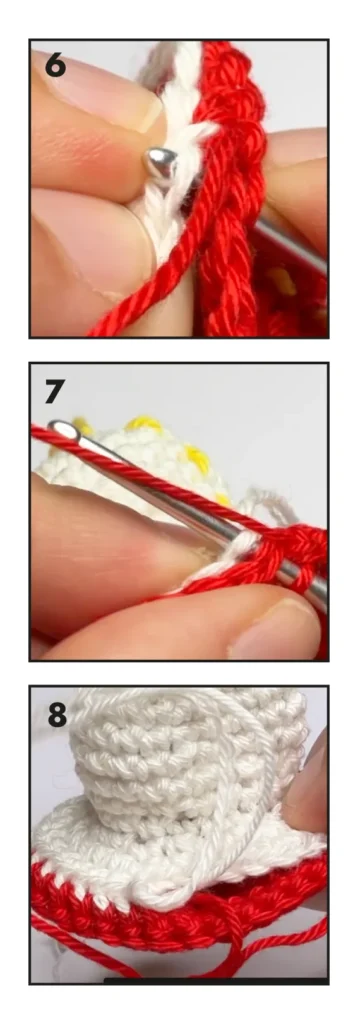
- In the next round, we are going to attach the cap to the stalk.
- Rnd 9: Going through the cap stitches and the BLO of the stalk stitches (photo 6-8): sc in all 36 st (36) (Because you turned the Mushroom Stalk, the Back Loop Stitches (BLO) look like the Front Loop Stitches (FLO) now.)
- When the mushroom cap is still partly open, put stuffing in the mushroom. Start with stuffing the stalk and only put a bit of stuffing in the cap.
- Invisible fasten off and sew the remaining yarn in the mushroom.
- Optional: Sew a red piece of yarn throught the top of the mushroom to the bottom and back, now pull the yarn a bit to pull up the bottom part. This makes your mushroom a bit shorter and easier to stand straight up.
Spots:
Large spot:
- Rnd 1: start 6 sc in a magic ring (6)
- Rnd 2: inc 6 times (12)
- Invisible fasten off, leaving a yarn tail.
Small spot 2x:
- Rnd 1: start 8 sc in a magic ring (8)
- Invisible fasten off, leaving a yarn tail.
Now you cute mushroom is finished! I hope you enjoyed crocheting this mini mushroom. Tag your creation on instagram or show it oin my facebook group to have a change to be featured on my Made By You page.
There are many more cute Amigurumi Tutorials on my blog!
Pepper Crochet Pattern 
pear fruit crochet pattern