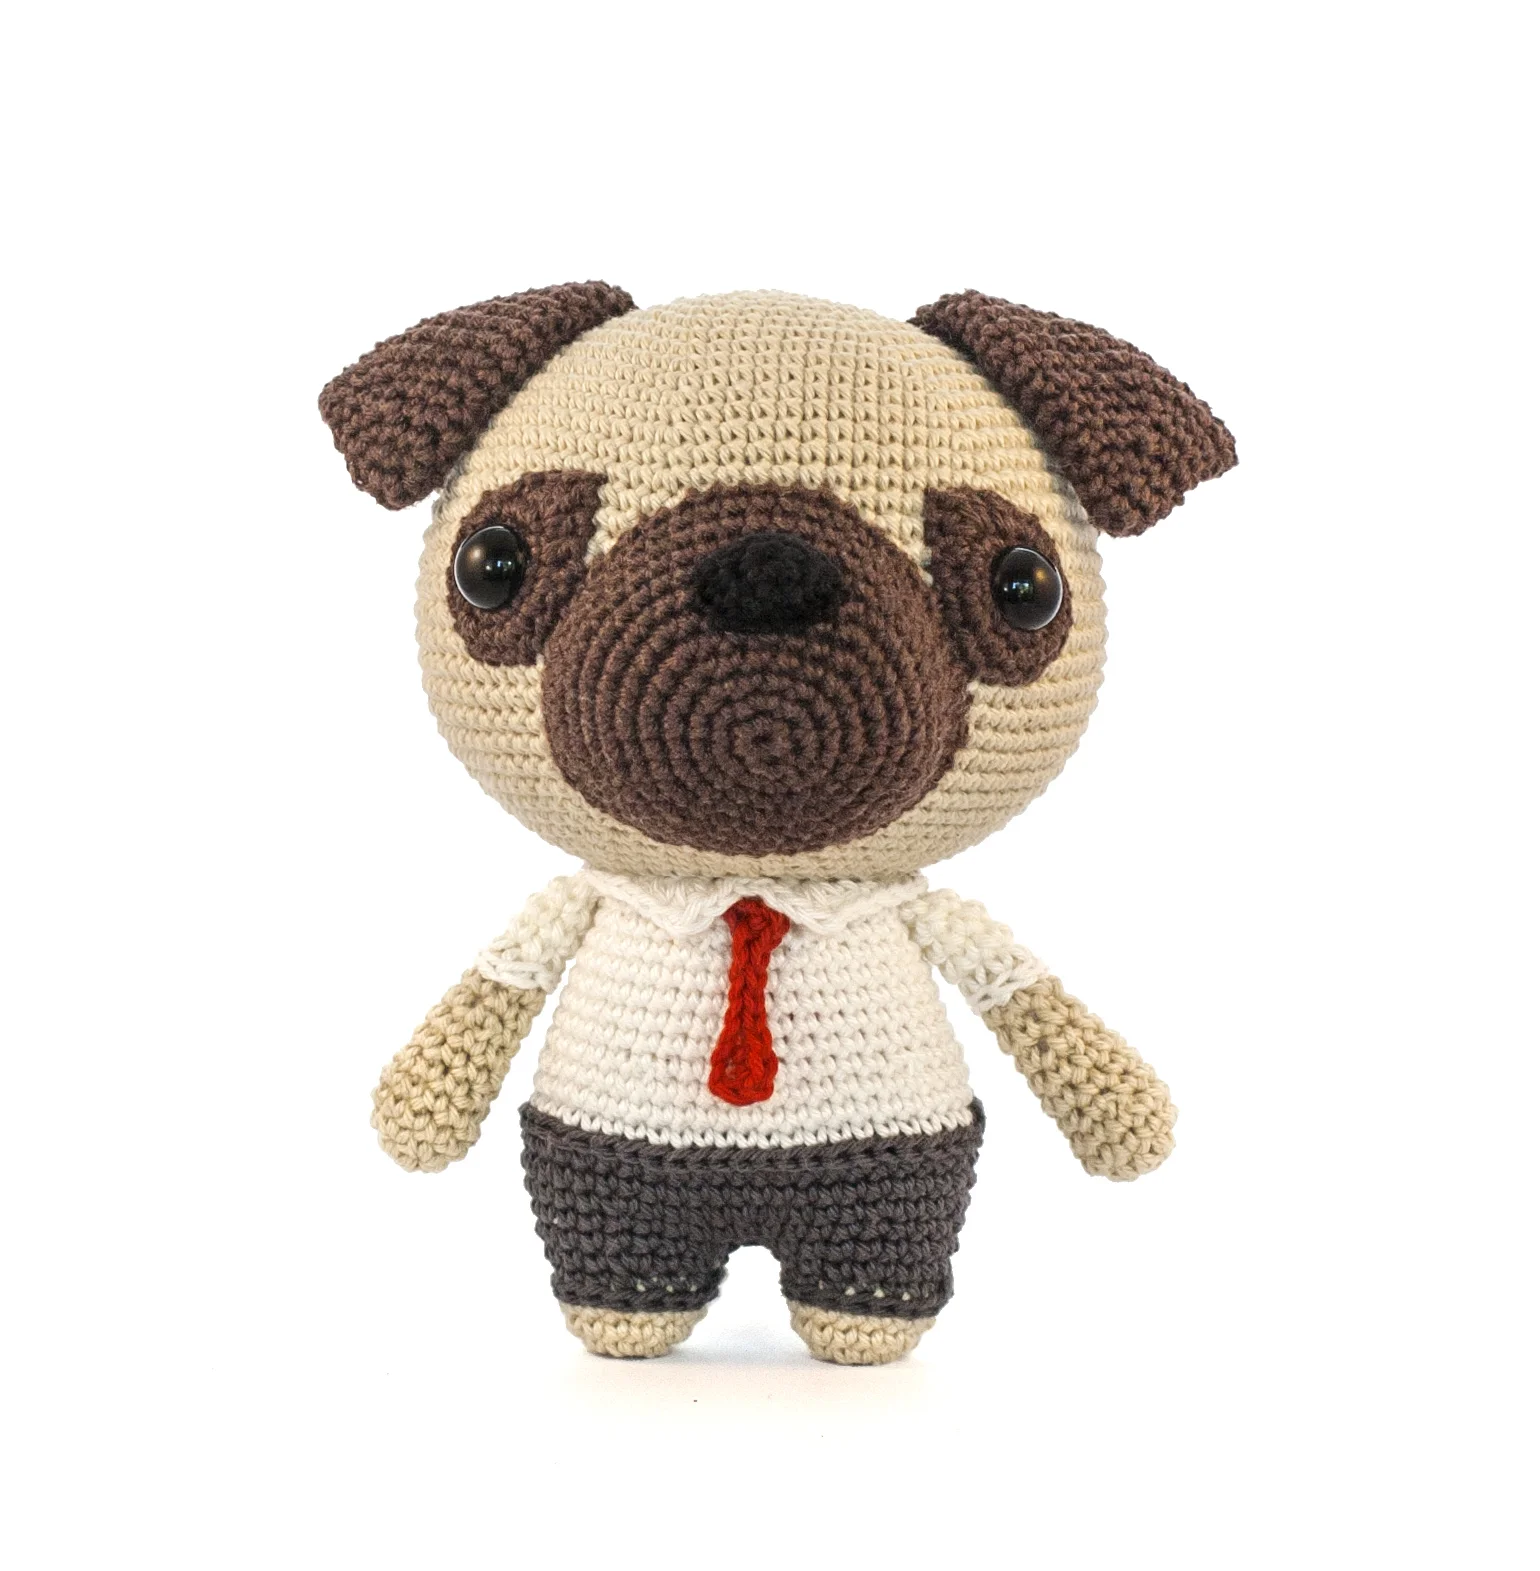
Free Pug Crochet Pattern

Mr. Pug, a Cute Dog Amigurumi
Create a very cute gift for father’s day with this free pug crochet pattern, a very cool dog Amigurumi. This is an easy crochet pattern, which only requires a few basic crochet stitches to make. This pug pattern has step by step photo’s included to help you creating this cute dog.
This is a large Amigurumi pattern which I made from sport weight cotton yarn. You can use any yarn to create Mr. Pug, if you use bulky yarn, Mr. Pug will be huge!
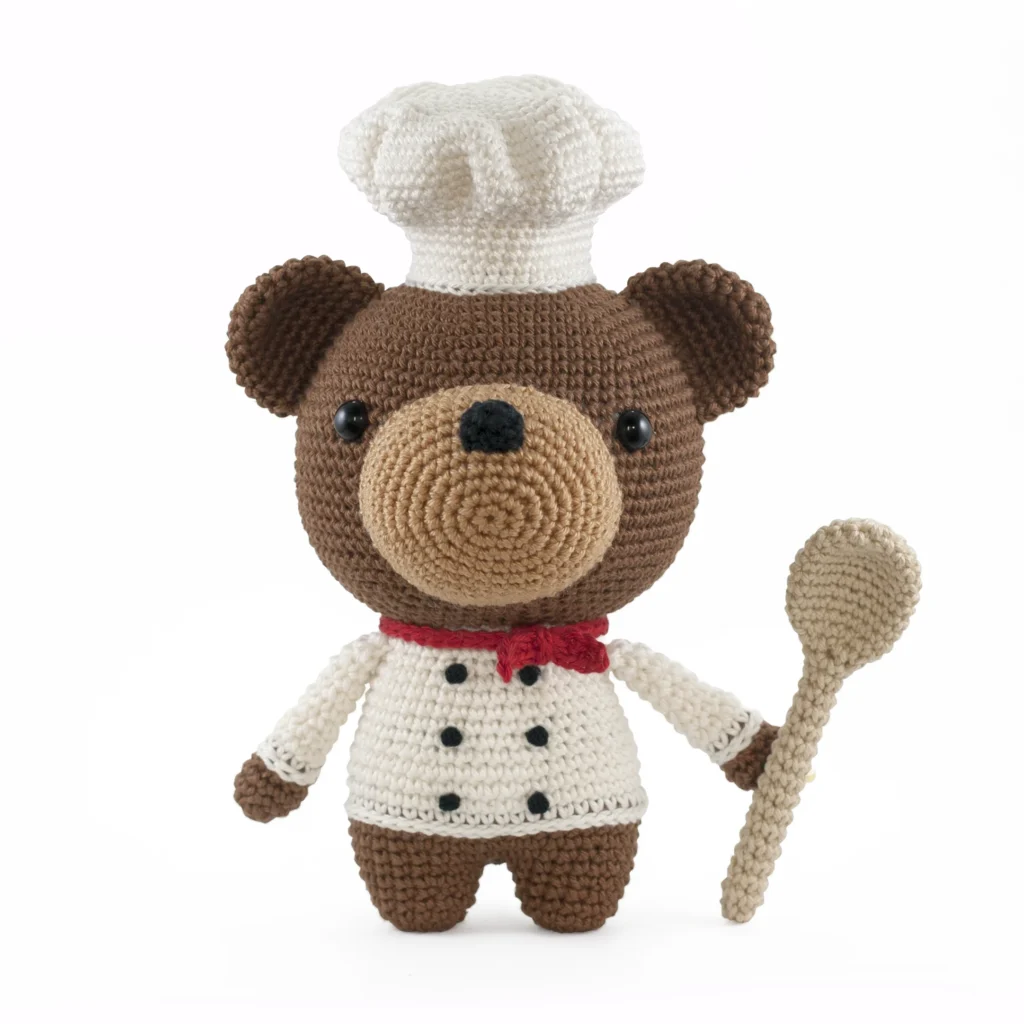
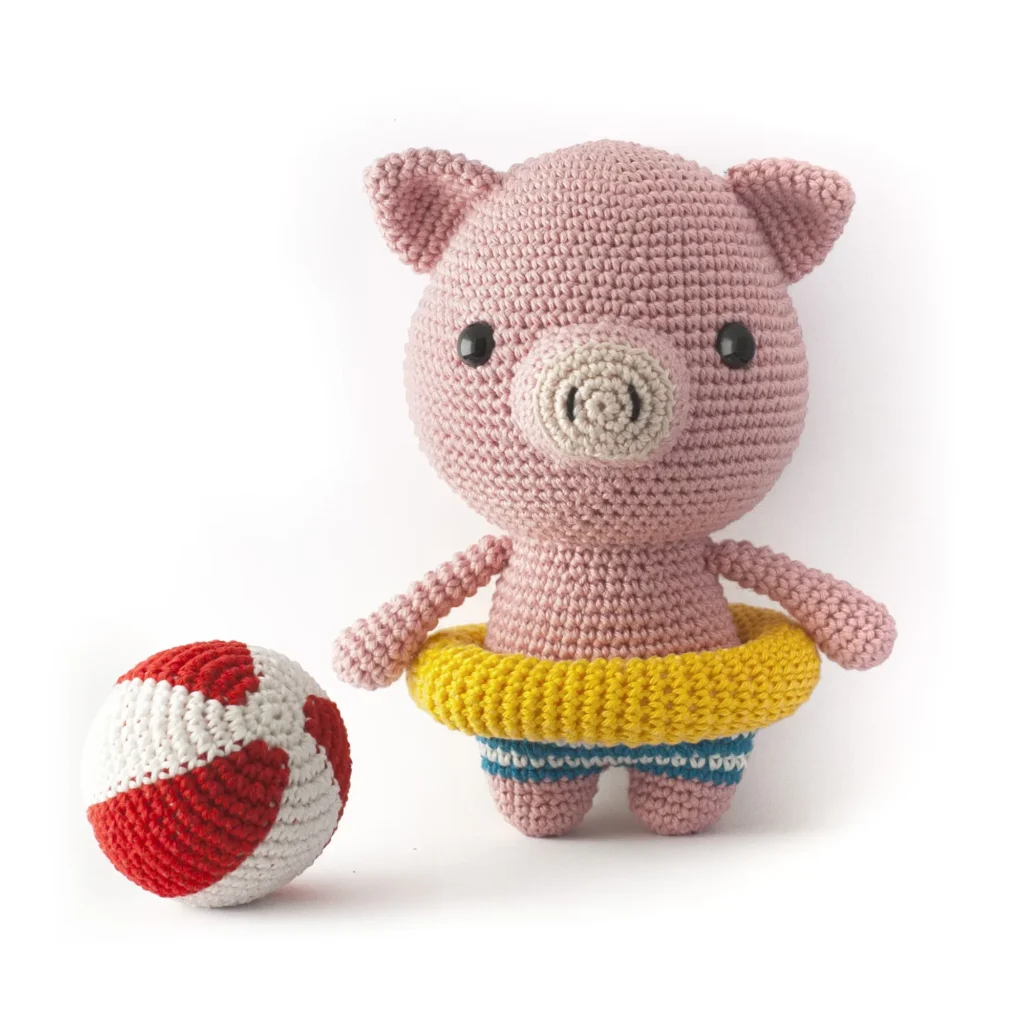
On my blog you can find many more Amigurumi patterns. I also have small dog patterns if you don’t have much time and want to make a quick gift.
Basic Stitches Tutorial:
If you’re new to crocheting, don’t worry! Check out my beginner-friendly basic stitches tutorial, complete with numerous instructional videos. It covers everything you need to know to make your very own adorable Amigurumi.

Materials:
These are the materials that I used. However, feel free to replace them with other materials of your choice. Furthermore, if you wish to crochet a larger or smaller version of the dog using this free pug amigurumi pattern, you can simply use a thicker or thinner yarn and crochet hook.
Cotton Sport Weight version 6 inch (17 cm):
– Beige Yarn and Colors Must Have color: 111
– Black Yarn and Colors Must Have color: 100
– Brown Yarn and Colors Must Have color: 028
– White Yarn and Colors Must Have color: 001
– Grey Yarn and Colors Must Have color: 098
– Red Yarn and Colors Must Have color: 032
– Synthetic Poly Filling
– Safety eyes 1 pair: 13 mm
Search for a similar chenille yarn you can buy near you on YARNSUB
Supplies:
– Scissors
– Tapestry needles with blunt point, nr. 16 or 17
– Pins
– Crochet hook size B/1 (2.5 mm)
TIP: Are you using are using Blanket yarn? Then I recommend a L/11 (8.0 mm) crochet hook.
For Super Bulky Chenille yarn I recommend a H/8 (5.0 mm) crochet hook, for bulky velvet yarn a E/4 (3.5 mm) crochet hook.
Abbreviations used in this cute pug crochet pattern (U.S. Terms):
(All abbreviations are explained in my basic stitches tutorial)
Rnd: Round
st: stitch
sc: single crochet
sl st: slip stitch
dec: decrease
inc: increase
dc: double crochet
hdc: half double crochet

Free Pug Crochet Pattern
Snout:
- Use brown yarn
- Rnd 1: start 6 sc in a magic ring (6)
- Rnd 2: inc 6 times (12)
- Rnd 3: sc in next st, inc in next 3 st, sc in next 3 st, inc in next 3 st, sc in next 2 st (18)
- Rnd 4: sc in next st, (sc in next st, inc in next st) repeat 3 times, sc in next 3 st, (sc in next st, inc in next st) repeat 3 times, sc in next 2 st (24)
- Rnd 5: sc in next st, (sc in next 2 st, inc in next st) repeat 3 times, sc in next 3 st, (sc in next 2 st, inc in next st) repeat 3 times, sc in next 2 st (30)
- Rnd 6: sc in next st, (sc in next 3 st, inc in next st) repeat 3 times, sc in next 3 st, (sc in next 3 st, inc in next st) repeat 3 times, sc in next 2 st (36)
- Rnd 7: sc in next 9 st, inc in next st, sc in next 3 st, inc in next st, sc in next 5 st, inc in next 2 st, sc in next 5 st, inc in next st, sc in next 3 st, inc in next st, sc in next 5 st (42)
- Rnd 8-11: sc in all 42 st (42)
- Fasten off with a slip stitch, leave a long piece of yarn to sew the snout onto the head.
Nose:
- Use black yarn
- Rnd 1: start 6 sc in a magic ring (6)
- Rnd 2: (sc in next st, inc in next 2 st) repeat 2 times (10)
- Rnd 3: sc in next 2 st, inc in next st, sc in next 4 st, inc in next st, sc in next 2 st (12)
- Fasten off with a slip stitch, leave a long piece of yarn to sew the nose onto the snout.
Eyes spot 2x:
- Use brown yarn.
- Rnd 1: start 6 sc in a magic ring (6)
- Rnd 2: inc 6 times (12)
- Rnd 3: (sc, inc in next st) repeat 6 times (18)
- Rnd 4: hdc in next st, hdc + dc + hdc in the next st, hdc in next st, leave the rest of the sts unworked (5)
- Do not finish this round. Fasten off with a slip stitch, leave a long piece of yarn to sew the eye spot onto the head.

Head:
- Use beige yarn
- Rnd 1: start 6 sc in a magic ring (6)
- Rnd 2: inc 6 times (12)
- Rnd 3: (sc, inc in next st) repeat 6 times (18)
- Rnd 4: (sc in next 2 st, inc in next st) repeat 6 times (24)
- Rnd 5: (sc in next 3 st, inc in next st) repeat 6 times (30)
- Rnd 6: (sc in next 4 st, inc in next st) repeat 6 times (36)
- Rnd 7: (sc in next 5 st, inc in next st) repeat 6 times (42)
- Rnd 8: (sc in next 6 st, inc in next st) repeat 6 times (48)
- Rnd 9: (sc in next 7 st, inc in next st) repeat 6 times (54)
- Rnd 10: (sc in next 8 st, inc in next st) repeat 6 times (60)
- Rnd 11: sc in all 60 st (60)
- Rnd 12: (sc in next 9 st, inc in next st) repeat 6 times (66)
- Rnd 13: sc in all 66 st (66)
- Rnd 14: (sc in next 10 st, inc in next st) repeat 6 times (72)
- Rnd 15: sc in all 72 st (72)
- Rnd 16: (sc in next 11 st, inc in next st) repeat 6 times (78)
- Rnd 17-27: sc in all 78 st (78)
- Rnd 28: (sc in next 11 st, dec) repeat 6 times (72)
- Rnd 29: (sc in next 10 st, dec) repeat 6 times (66)
- Rnd 30: (sc in next 9 st, dec) repeat 6 times (60)
- Rnd 31: (sc in next 8 st, dec) repeat 6 times (54)
- Rnd 32: (sc in next 7 st, dec) repeat 6 times (48)
- Rnd 33: (sc in next 6 st, dec) repeat 6 times (42)
- Rnd 34: (sc in next 5 st, dec) repeat 6 times (36)
- Rnd 35: (sc in next 4 st, dec) repeat 6 times (30)
- Before finishing crocheting the head we need to sew the snout and eyes on the head.
- Stuff the head with filling. Sew the snout onto the head between rounds 16-32, the snout is 17 stitches width on round 26. Stop sewing when you have hole left to stuff the snout. Stuff the snout and sew the nose onto the snout, onto rounds 6-8. Hide the thread in the snout. Finish sewing the snout onto the head. Now sew the eye spots on the head of our pug, on both sides of the snout between rounds 16-23. Insert the safety eyes into the center of round 1 of the eye spots.
- Rnd 36: (sc in next 3 st, dec) repeat 6 times (24)
- Rnd 37: (sc in next 2 st, dec) repeat 6 times (18)
- Stuff the head with filling.
- Rnd 38: (sc, dec in next st) repeat 6 times (12)
- Rnd 39: dec 6 times (6)
- Finish the head by taking the last strand of yarn and sewing it through the front loops of every crochet stitch that you made in the last round. Pull the yarn tight to close the hole. Now stick a needle under the hole and weave in the yarn end.
Ears 2x:
- Use brown yarn
- Rnd 1: start 4 sc in a magic ring (4)
- Rnd 2: inc 4 times (8)
- Rnd 3: sc in all 8 st (8)
- Rnd 4: (sc, inc in next st) repeat 4 times (12)
- Rnd 5: sc in all 12 st (12)
- Rnd 6: (sc in next 2 st, inc in next st) repeat 4 times (16)
- Rnd 7: (sc in next 3 st, inc in next st) repeat 4 times (20)
- Rnd 8: (sc in next 4 st, inc in next st) repeat 4 times (24)
- Rnd 9-15: sc in all 24 st (24)
- Fasten off with a slip stitch, leave a long piece of yarn to sew the ears onto the head. Sew the ears onto the head between rounds 6-18.

Tie:
- Use red yarn and crochet a chain
- Ch 8
- Row 1: Start in second ch from hook, slst + sc + hdc in the second st, slst in next 5 st, ch + hdc in next st (10)
- Fasten off
Body (first make two legs)
- Legs 2x:
- Use beige yarn
- Rnd 1: start 8 sc in a magic ring (8)
- Rnd 2: inc 8 times (16)
- Rnd 3-4: sc in all 16 st (16)
- Change color to grey
- Rnd 5-6: sc in all 16 st (16)
- Rnd 7: (sc in next 3 st, inc in next st) repeat 4 times (20)
- Fasten one leg off with a slip stitch, do not fasten off the other leg.
Body:
- Continue to crochet in the second leg.
- Rnd 1: sc in the next 10 sc, (now we are going to join with another leg) continue in the first stitch of the first leg, in all 20 st of Leg 1 continue in the eleventh stitch of the second leg, sc in next 10 st (40)
- If you need help crocheting the two legs together of this free pug crochet pattern, please watch this video.
- Rnd 2: sc in all 40 st (40)
- Rnd 3: (sc in next 4 st, inc in next st) repeat 8 times (48)
- Rnd 4-5: sc in all 48 st (48)
- Change color to white
- Rnd 6-8: sc in all 48 st (48)
- Rnd 9: (sc in next 4 st, dec) repeat 8 times (40)
- Rnd 10-14: sc in all 40 st (40)
- Rnd 15: (sc in next 3 st, dec) repeat 8 times (32)
- Rnd 16-17: sc in all 32 st (32)
- Turn your crochet work, crochet on the inside of the body, start in the last st of round 17.
- Rnd 18: BLO ch 1, sc in next 18 st, hdc in next st, hdc + dc + hdc in next st, sc + slst in next st, slst in next st, slst + sc in next st, hdc + dc + hdc in next st, hdc in next st, sc in next 7 st (38)

- Fasten off with a slip stitch, leave a long piece of yarn to sew the body onto the head.
- Sew the tie on the body

- Now crochet a border between the beige and grey rounds and grey and white rounds. This technique is called Surface Crochet. This technique is explained in photo’s here: www.mariskavos.nl/how-to-surface-crochet/ Stuff the body with filling.
- Sew the body onto the head, between round 35-36.
Arms 2x:
- Use beige yarn
- Rnd 1: start 6 sc in a magic ring (6)
- Rnd 2: inc 6 times (12)
- Rnd 3-4: sc in all 12 st (12)
- Rnd 5: (sc in next 2 st, dec) repeat 3 times (9)
- Stuff the arms with filling.
- Rnd 6-7: sc in all 9 st (9)
- Rnd 8: sc in next 2 st, dec, sc in next 3 st, dec (7)
- Rnd 9-10: sc in all 7 st (7)
- Change color to white
- Rnd 11-14: sc in all 7 st (7)
- Put a bit more stuffing into the arms.
- Fasten off with a slip stitch, leave a long piece of yarn to sew the arms onto the body.
Now crochet a border between the beige and white rounds (surface crochet) - Sew the arms on the sides of the body on round 16.
Tail:
- Use beige yarn
- Rnd 1: start 6 sc in a magic ring (6)
- Rnd 2-7: sc in all 6 st (6)
- Fasten off with a slip stitch, leave a long piece of yarn.
- To make the tail curl up, sew the yarn through the side of the tail and pull the yarn. Sew back to the beginning (last stitch of round 7) secure the thread. Now you can sew the tail onto the back of the body onto rounds 4-5.

Now Mr. Pug is done, I hope you enjoyed this free dog crochet pattern. A great gift for father’s day.
There are many more cute Amigurumi patterns one my blog!