Mr. Blue Free Monster Crochet Pattern

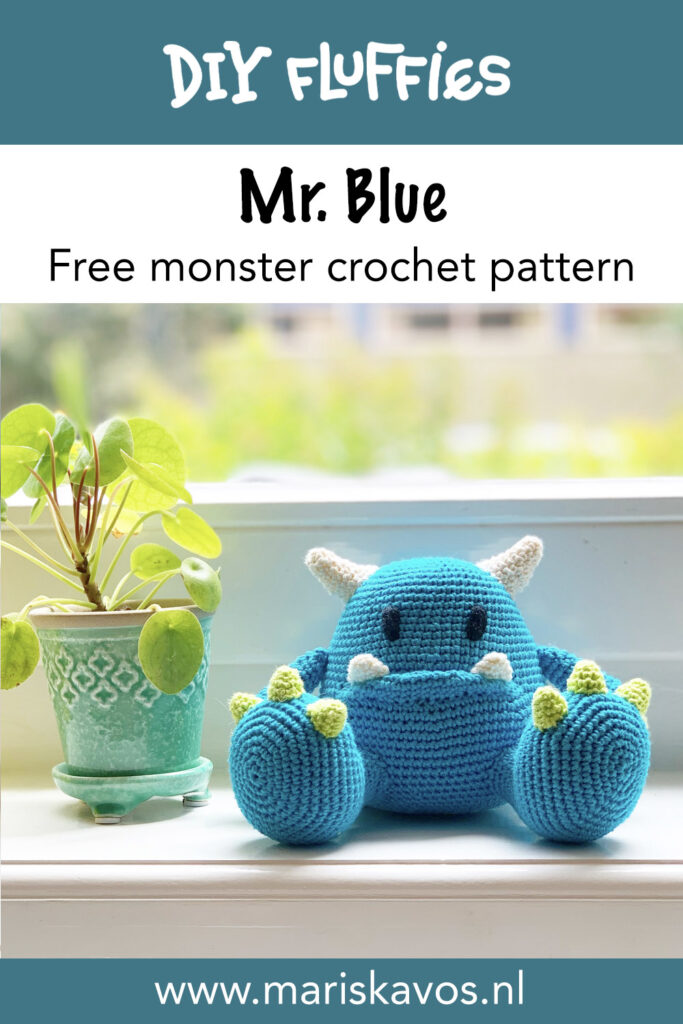
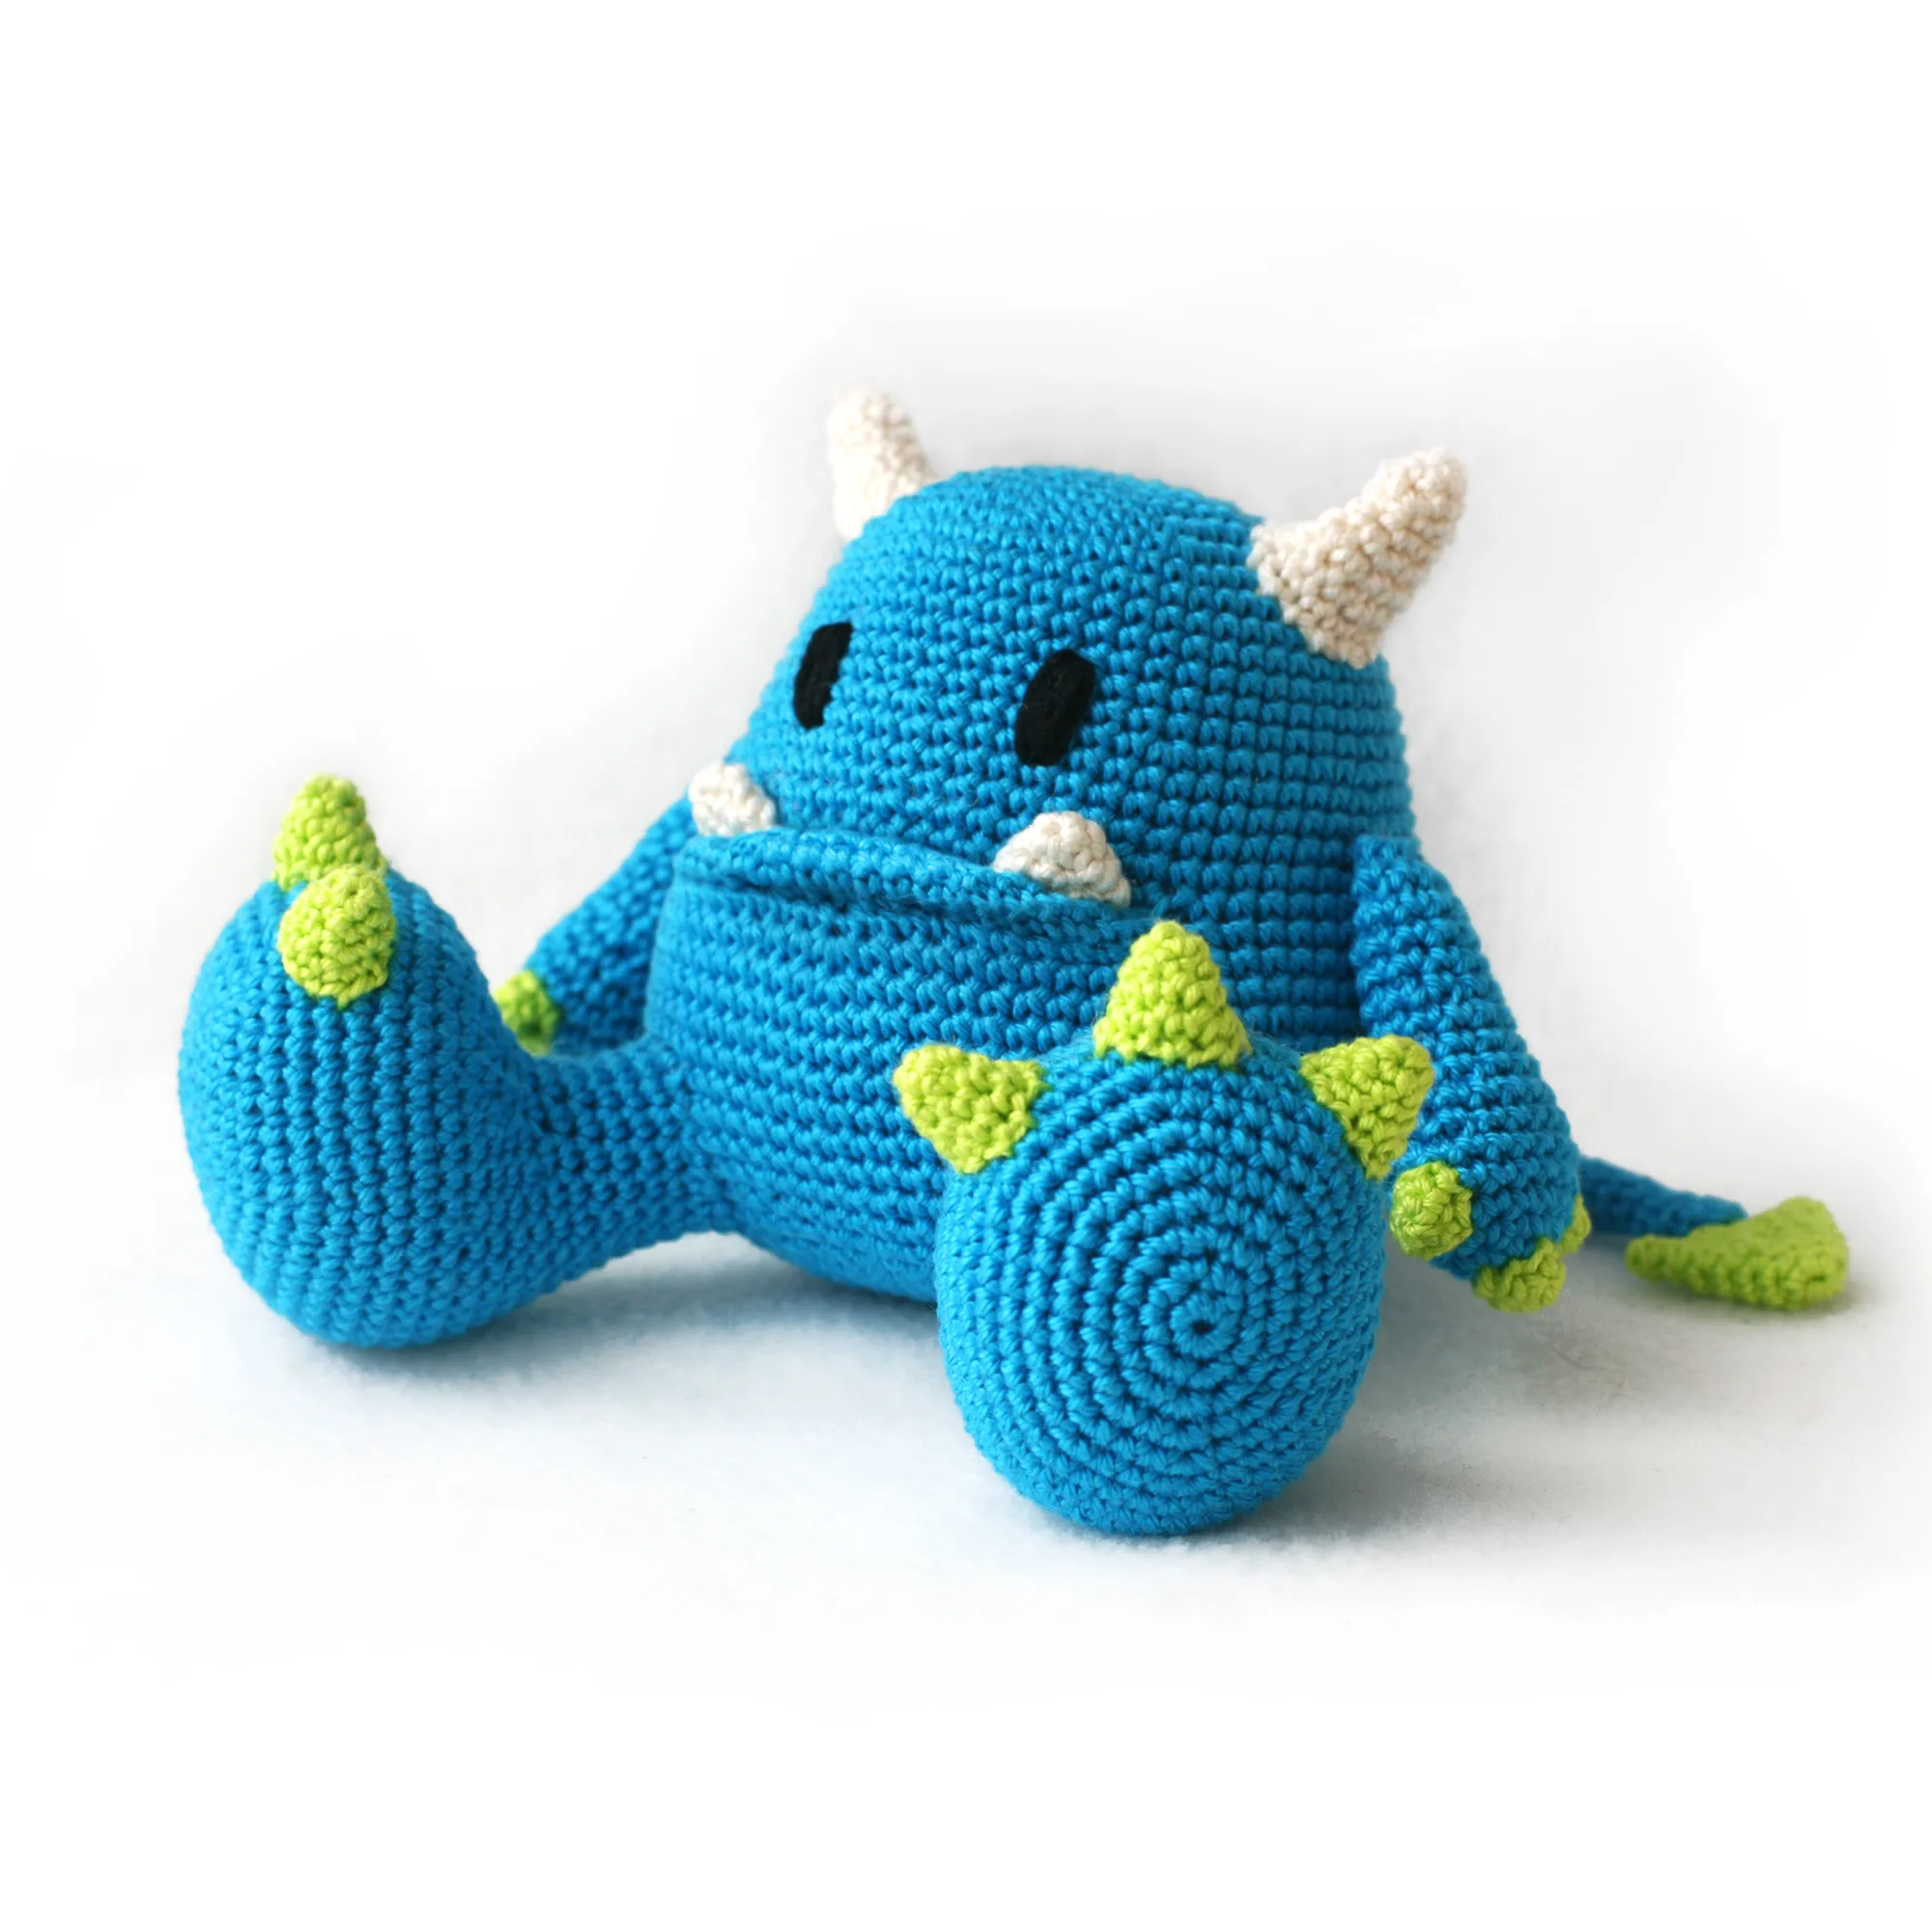
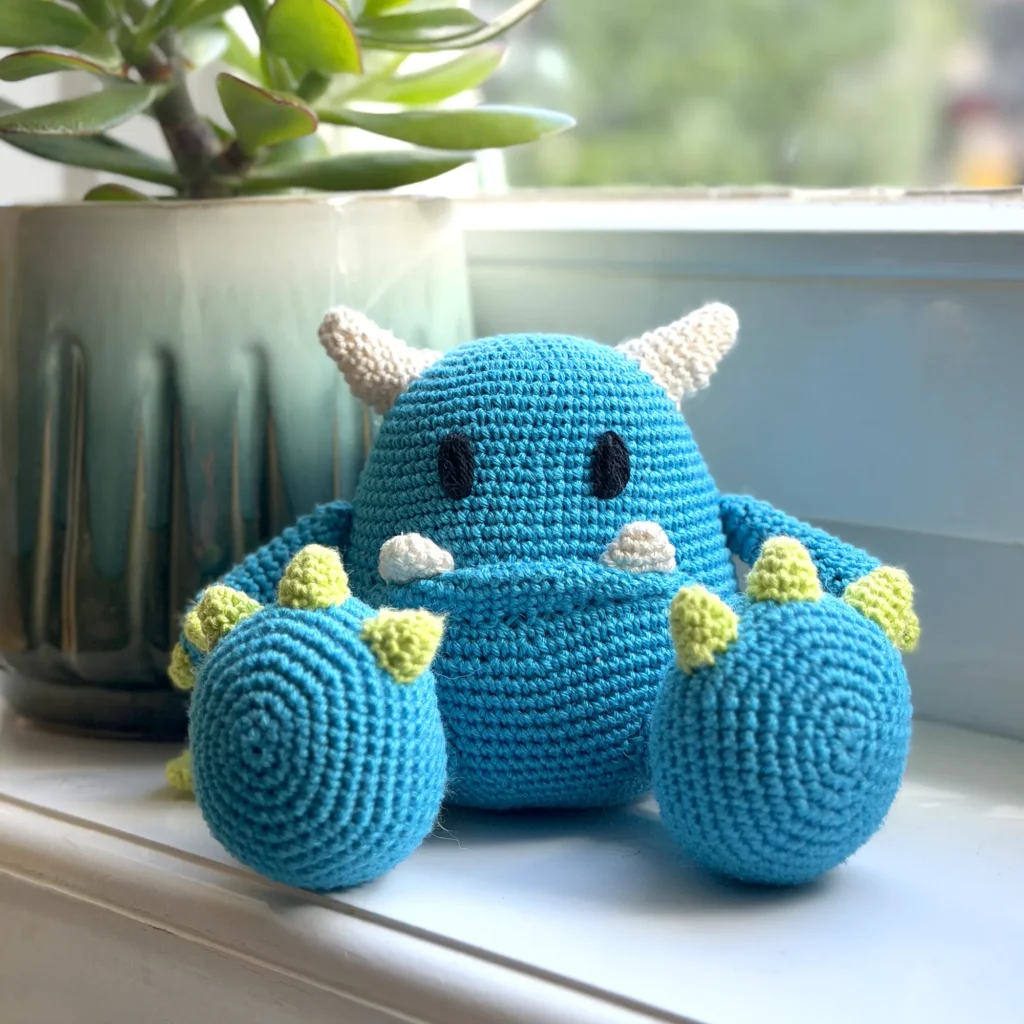
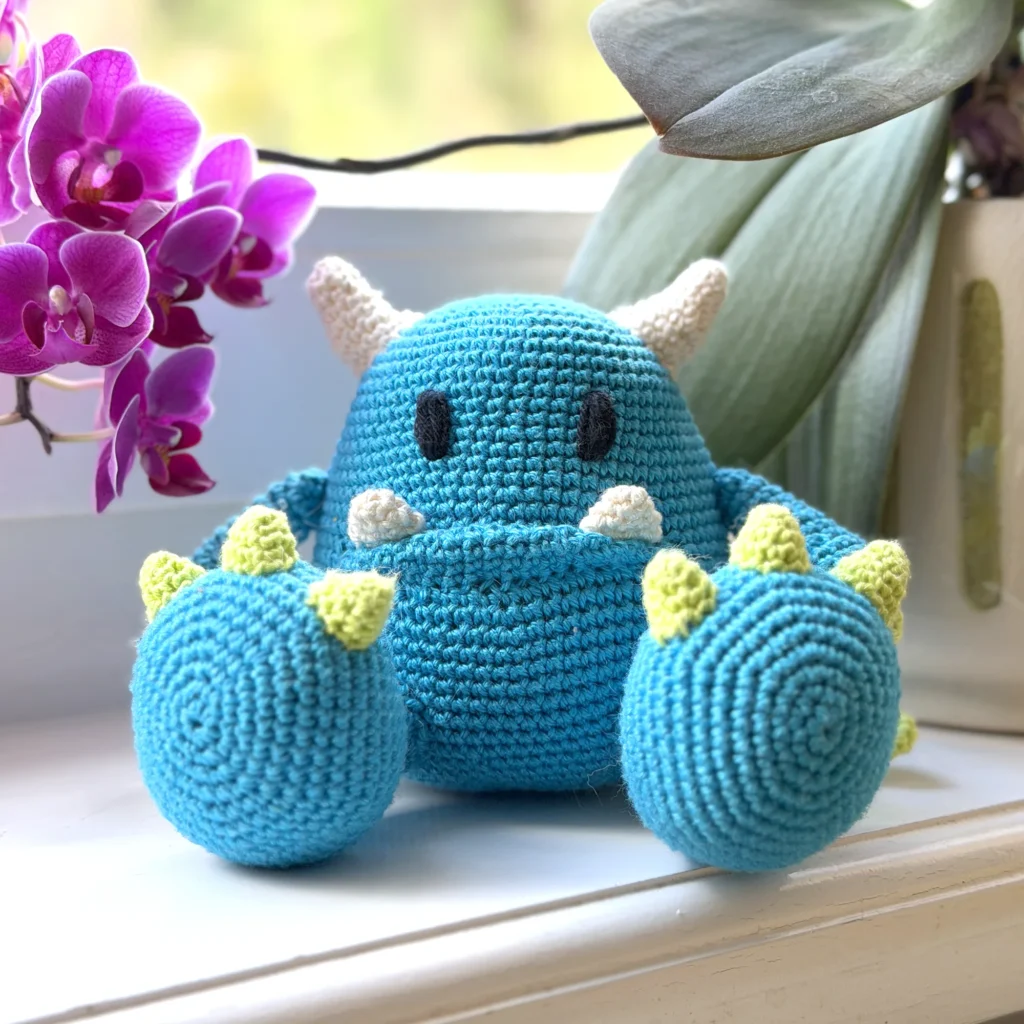
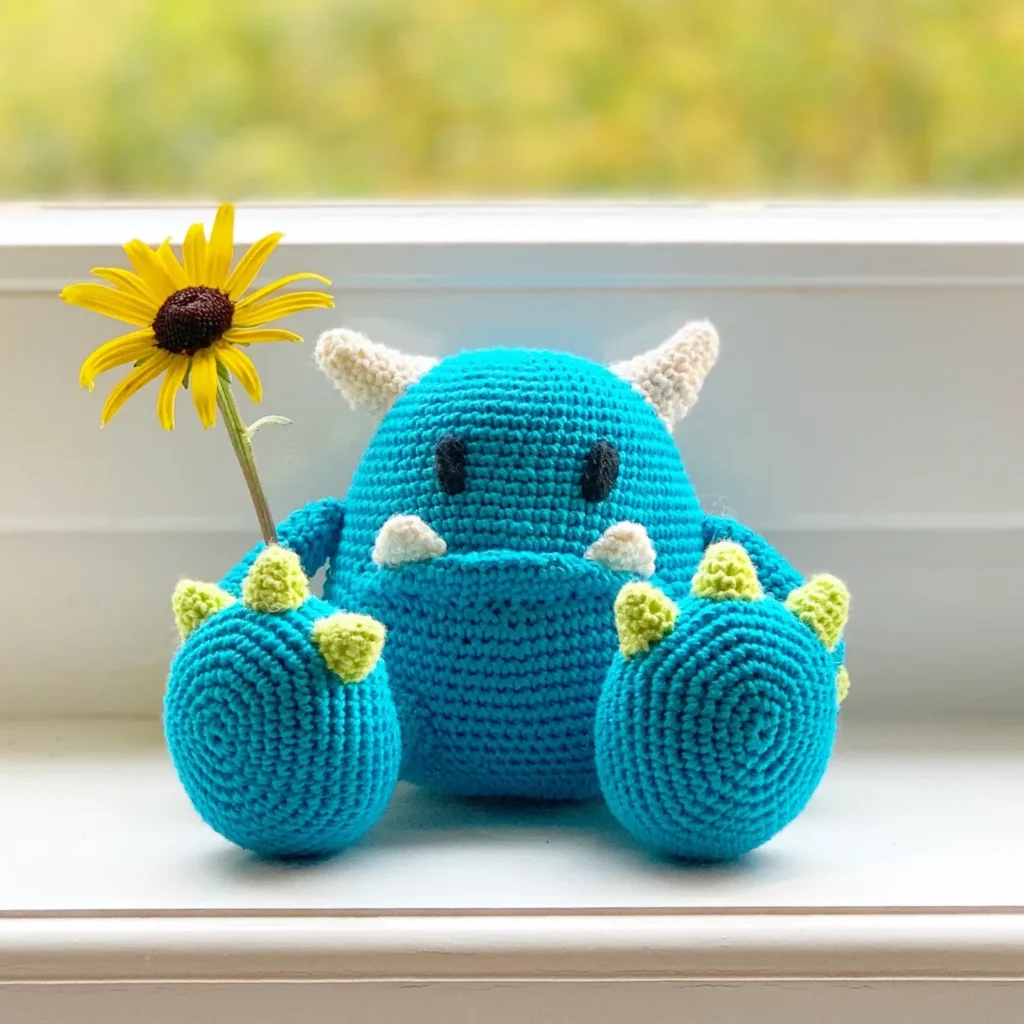
This is an easy, beginner friendly free monster crochet pattern to make your own cute Mr. Blue Amigurumi. This pattern includes many step-by-step photo’s to help you create Mr. Blue, perfect for beginners.
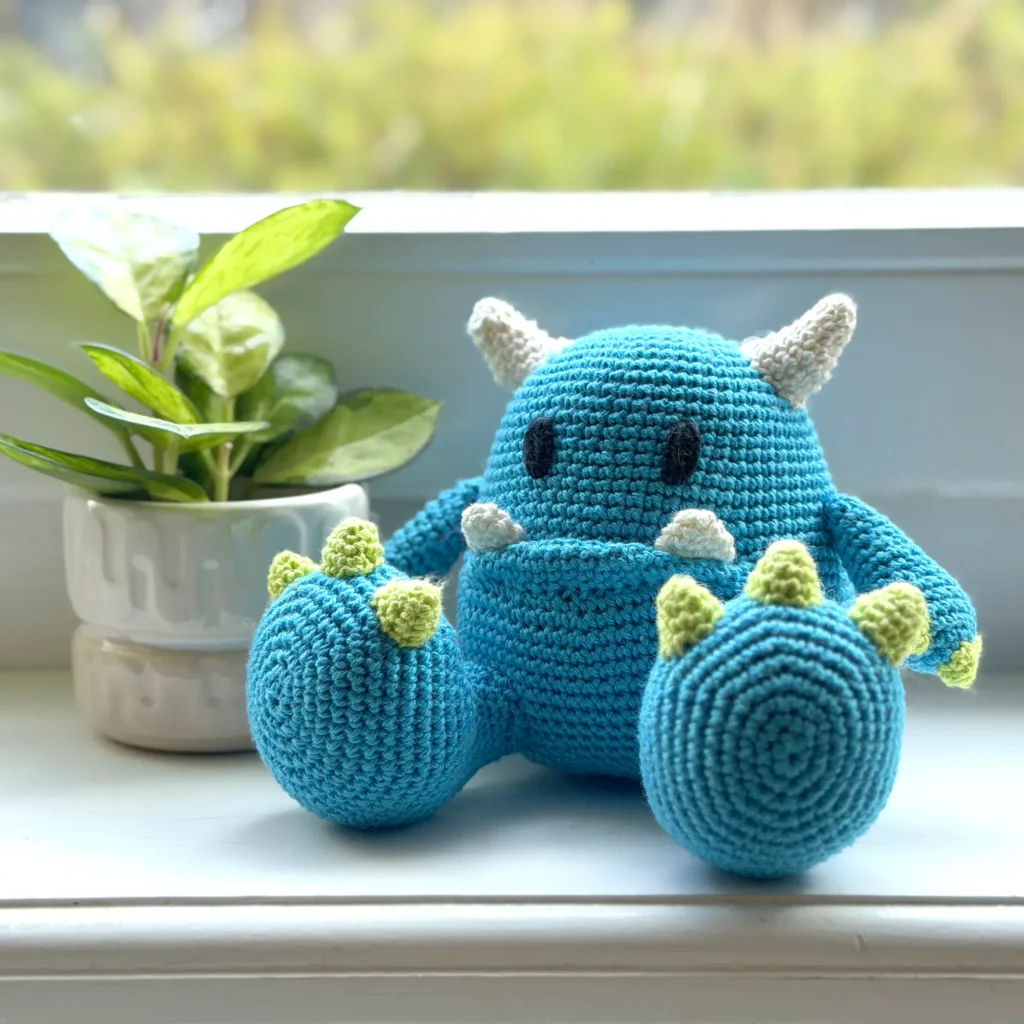
The finished Mr. Blue (5 inch / 11 cm tall) on the photo was made with sport weight cotton yarn and a B/1 (2.5 mm) crochet hook. You can use any yarn that you like to crochet this cute monster amigurumi, just keep in mind that thicker yarn will make him turn out bigger.
Mr. Blue loves all kinds of computer and board games. He’ll beat anyone at Monopoly, he’s a champion at World of Warcraft and he organizes his own chess evenings with the ‘Club-in-the-closet’. If you can’t fall asleep at night, you can always invite him to play a game with you. And if you lose, you’ll only have to give up a small part of your toe. Just kidding, Mr. Blue only eats brambles!
Introduction Video
PDF Pattern Mr. Blue Monster Crochet
PDF Pattern:
If you prefer a pdf download or want to support me, you can buy the pdf pattern in my etsy shop, ravelry or amigurumi.com thank you so much for your support! (Keep scrolling for the free pattern)
Book: You can also find the pattern of Mr. Blue in the book Amigurumi Monsters available on Amazon or other bookstores: www.mariskavos.nl/craft-books/
Basic Stitches Tutorial
If you are a beginner that want to learn how to crochet, check out my beginner-friendly basic stitches tutorial, it has many instructional videos on how to crochet every stitch. It shows you all you need to know to make your very own cute Amigurumi with this free monster crochet pattern.
Materials
These are the materials that I used. However, feel free to replace them with other materials of your choice. Furthermore, if you wish to crochet a larger or smaller version of the monster Mr. Blue amigurumi using this free stuffed monster crochet pattern, you can simply use a thicker or thinner yarn and crochet hook.
Cotton Sport Weight version 5 inch (11 cm):
– Blue Yarn and Colors Must Have color: 066 (2 ball)
or
– Green Yarn and Colors Must Have color: 123
– Black Yarn and Colors Must Have color: 100
– WhiteYarn and Colors Must Have color: 001
– Synthetic Poly Filling
– Crochet hook size B/1 (2.5 mm)
Search for a similar cotton yarn you can buy near you on YARNSUB
Supplies:
– Scissors
– Tapestry needles with blunt point, nr. 16 or 17
– Pins
TIP: Are you using are using Blanket yarn to make a giant monster? Then I recommend a L/11 (8.0 mm) crochet hook.
For Super Bulky Chenille yarn I recommend a H/8 (5.0 mm) crochet hook, for bulky velvet yarn a E/4 (3.5 mm) crochet hook.
Abbreviations
Abbreviations (U.S. Terms) used in this free monster Mr. Blue crochet pattern:
(All abbreviations are explained in my basic stitches tutorial)
Rnd: Round
st: stitch
sc: single crochet
sl st: slip stitch
dec: decrease
inc: increase
Free Mr. Blue Monster Crochet Pattern
Teeth 2x:
- Use white yarn
- Rnd 1: start 4 sc in a magic ring (4)
- Rnd 2: (sc in next 1 st, inc in next st) repeat 2 times (6)
- Rnd 3: (sc in next 2 st, inc in next st) repeat 2 times (8)
- Rnd 4: sc in all 8 st (8)
- Fasten off, leaving a long tail for sewing. The teeth do not need to be stuffed. Flatten and sew the open side closed.
Body:
- Use blue yarn.
- Rnd 1: start 8 sc in a magic ring (8)
- Rnd 2: inc 8 times (16)
- Rnd 3: (sc, inc in next st) repeat 8 times (24)
- Rnd 4: (sc in next 2 st, inc in next st) repeat 8 times (32)
- Rnd 5: (sc in next 3 st, inc in next st) repeat 8 times (40)
- Rnd 6: (sc in next 4 st, inc in next st) repeat 8 times (48)
- Rnd 7: (sc in next 5 st, inc in next st) repeat 8 times (56)
- Rnd 8-14: sc in all 56 st (56)
- Rnd 15: (sc in next 6 st, inc in next st) repeat 8 times (64)
- Rnd 16-18: sc in all 64 st (64)
- Rnd 19: (sc in next 7 st, inc in next st) repeat 8 times (72)
- Rnd 20: sc in all 72 st (72)
- Rnd 21: sc in next 24 st, ch 22 (skip 22 st), sc in next 26 (72)
- Rnd 22: sc in all 72 st (72)
- Rnd 23: sc in next 26 st, inc in next st, sc in next 8 st, inc in next st, sc in next 8 st, inc in next st, sc in next 27 st (75)
- Rnd 24: sc in next 27 st, inc in next st, sc in next 9 st, inc in next st, sc in next 9 st, inc in next st, sc in next 27 st (78)
- Rnd 25-31: sc in all 78 st (78)
- Rnd 32: (sc in next 11 st, inc in next st) repeat 6 times (72)
- Rnd 33: sc in all 72 st (72)
- Do not fasten off. Take your crochet hook out of your last stitch and secure with a stitch marker. Next, we continue with the mouth. We finish the body after creating the mouth.
Mouth:
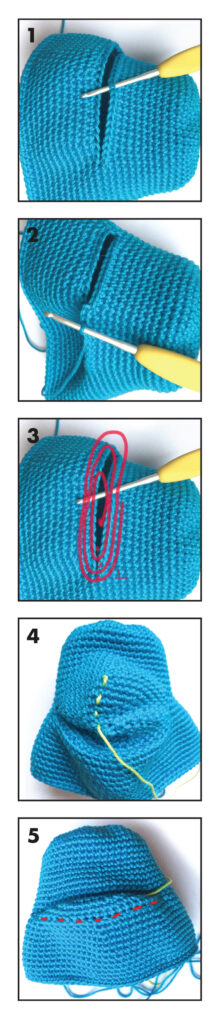
- In round 21 you created a gap, where we will be crocheting the mouth. Start in the 36th stitch of round 20 (photo 1 – 3).
- Rnd 1: sc in all 44 st (44)
- Rnd 2: sc in next 11 st, dec, sc in next 20 st, dec, sc in next 9 st (42)
- Rnd 3: sc in next 4st, dec, sc in next 5 st, dec, sc in next 5 st, dec, sc in next 5 st, dec, sc in next 5 st, dec, sc in next 5 st, dec, sc in next st ( (36)
- Rnd 4: (sc in next 4 st, dec) repeat 6 times (30)
- Rnd 5: (sc in next 3 st, dec) repeat 6 times (24)
- Rnd 6: (sc in next 2 st, dec) repeat 6 times (18)
- Rnd 7: (sc in next 1 st, dec) repeat 6 times (12)
- Rnd 8: dec 8 times (8)
- Fasten off, leaving a long tail for sewing. Push part of the mouth inside the body (photo 4 – 5). Rounds 1 – 4 of the bottom side of the mouth will form the lower lip. Sew the center of the lower lip to the inside of the mouth (round 1 – 2 of the upper part of the mouth) so it stays put. Position the teeth in the mouth and sew them inside the mouth. We continue crocheting the body.
- Rnd 34: (sc in next 7 st, dec) repeat 8 times (64)
- Rnd 35: (sc in next 6 st, dec) repeat 8 times (56)
- Rnd 36: (sc in next 5 st, dec) repeat 8 times (48)
- Rnd 37: (sc in next 4 st, dec) repeat 8 times (40)
- Stuff the body and continue stuffing as you go.
- Rnd 38: (sc in next 3 st, dec) repeat 8 times (32)
- Rnd 39: (sc in next 2 st, dec) repeat 8 times (24)
- Rnd 40: (sc in next st, dec) repeat 8 times (16)
- Rnd 41: dec 6 times (6)
- Fasten off, leaving a long yarn tail. Using your yarn needle, weave the yarn tail through the front loop of each remaining stitch and pull it tight to close. Weave in the yarn end.
Eyes:
- Take black yarn on your yarn needle. Embroider the eyes over rounds 12 to 15 with an interspace of 7 stitches. Go back and forth several times, so the eyes are about 2 stitches wide.
Leg 2x:
- Use blue yarn.
- Rnd 1: start 6 sc in a magic ring (6)
- Rnd 2: inc 6 times (12)
- Rnd 3: sc in next st, inc in next 3 st, sc in next 3 st, inc in next 3 st, sc in next 2 st (18)
- Rnd 4: sc in next st, (sc in next st, inc in next st) repeat 3 times, sc in next 3 st, (sc in next st, inc in next st) repeat 3 times, sc in next 2 st (24)
- Rnd 5: sc in next st, (sc in next 2 st, inc in next st) repeat 3 times, sc in next 3 st, (sc in next 2 st, inc in next st) repeat 3 times, sc in next 2 st (30)
- Rnd 6: sc in next st, (sc in next 3 st, inc in next st) repeat 3 times, sc in next 3 st, (sc in next 3 st, inc in next st) repeat 3 times, sc in next 2 st (36)
- Rnd 7: sc in next st, (sc in next 4 st, inc in next st) repeat 3 times, sc in next 3 st, (sc in next 4 st, inc in next st) repeat 3 times, sc in next 2 st (42)
- Rnd 8: sc in next st, (sc in next 5 st, inc in next st) repeat 3 times, sc in next 3 st, (sc in next 5 st, inc in next st) repeat 3 times, sc in next 2 st (48)
- Rnd 9-13: sc in all 48 st (48)
- Rnd 14: sc in next 1 st, (sc in next 5 st, dec) repeat 3 times, sc in next 3 st, (sc in next 5 st, dec) repeat 3 times, sc in next 2 st (42)
- Rnd 15: (sc in next 2 st, dec) repeat 6 times, sc in next 18 st (36)
- Rnd 16: (sc in next 1 st, dec) repeat 6 times, sc in next 18 st (30)
- Rnd 17: dec 6 times, sc in next 18 st (24)
- Rnd 18: (sc in next 2 st, dec) repeat 6 times (18)
- Rnd 19-23: sc in all 18 st (18)
- Fasten off with a slip stitch, leave a long piece of yarn to sew the legs onto the body. Stuff the legs with toy filling.
- Sew the legs onto the body onto rounds 29-34. With 11 st in between the legs at round 32.
Arm 2x:
- Use blue yarn.
- Rnd 1: start 6 sc in a magic ring (6)
- Rnd 2: inc 6 times (12)
- Rnd 3: sc in next 2 st, inc in next 2 st, sc in next 4 st, inc in next 2 st, sc in next 2 st (16)
- Rnd 4: sc in next 2 st, (sc in next st, inc in next st) repeat 2 times, sc in next 4 st, (sc in next st, inc in next st) repeat 2 times, sc in next 2 st (20)
- Rnd 5: sc in all 20 st (20)
- Rnd 6: sc in next 2 st, (sc in next st, dec) repeat 2 times, sc in next 4 st, (sc in next st, dec) repeat 2 times, sc in next 2 st (16)
- Rnd 7: sc in all 16 st (16)
- Rnd 8: sc in next 2 st, dec, dec, sc in next 4 st, dec, dec, sc in next 2 st (12)
- Rnd 9-10: sc in all 12 st (12)
- Stuff with fiberfill and continue stuffing as you go.
- Rnd 11: sc in next 2 st, dec, sc in next 4 st, dec, sc in next 2 st (10)
- Rnd 12-14: sc in all 10 st (10)
- Rnd 15: (sc in next 3 st, dec) repeat 2 times (8)
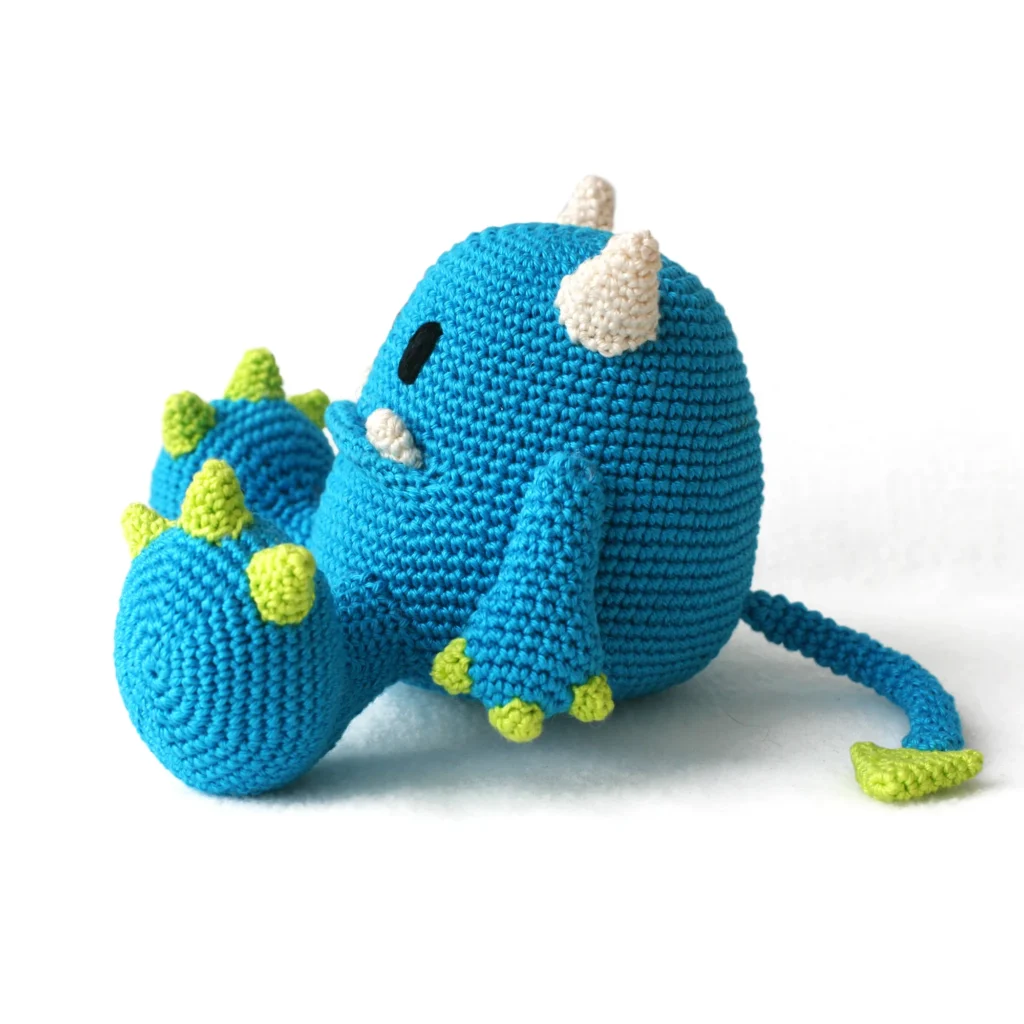
- Fasten off, leaving a long yarn tail. Using your yarn needle, weave the yarn tail through the front loop of each remaining stitch and pull it tight to close. Weave in the yarn end. Sew the arms to the body between rounds 17- 21, at 5 stitches from the mouth.
Horn (2x):
- Use white yarn.
- Rnd 1: start 4 sc in a magic ring (4)
- Rnd 2: (sc, inc in next st) repeat 2 times (6)
- Rnd 3: sc in all 6 st (6)
- Rnd 4: (sc in next 2 st, inc in next st) repeat 2 times (8)
- Rnd 5: (sc in next 3 st, inc in next st) repeat 2 times (10)
- Rnd 6: (sc in next 4 st, inc in next st) repeat 2 times (12)
- Rnd 7: sc in next 5 st, inc in next st, sc in next 5 st, dec (12)
- Rnd 8: sc in next 6 st, inc in next st, sc in next 5 st (13)
- Rnd 9: sc in next st, sl st in next st (2)
- Do not finish this round. Stuff with fiberfill. Fasten off, leaving a long tail for sewing. Sew the horns to both sides over rounds 6-10.
Nails for arms (6x):
- Use green yarn.
- Rnd 1: start 4 sc in a magic ring (4)
- Rnd 2: (sc, inc in next st) repeat 2 times (6)
- Stuff the nails with toy filling
- Slst in next st. Fasten off, leaving a tail for sewing. Sew one nail over rounds 1-2, sew two nails over rounds 4-5.
Nails for legs (6x):
- Use green yarn
- Rnd 1: start 4 sc in a magic ring (4)
- Rnd 2: (sc, inc in next st) repeat 2 times (6)
- Rnd 3: (sc in next 2 st, inc in next st) repeat 2 times (8)
- Rnd 4: (sc in next 3 st, inc in next st) repeat 2 times (10)
- Stuff the nails with toy filling
- Slst in next st. Fasten off, leaving a tail for sewing. Sew the nails on the feet over rounds 9-11, with an interspace of 2 stitches.
Tail:
- Use blue yarn.
- Rnd 1: start 6 sc in a magic ring (6)
- Rnd 2-21: sc in all 6 st (6)
- The tail does not need to be stuffed. Slst in next st. Fasten off, leaving a long yarn tail for sewing.
Tail point:
- Use green yarn.
- Rnd 1: start 6 sc in a magic ring (6)
- Rnd 2: (sc in next 2 st, inc in next st) repeat 2 times (8)
- Rnd 3: (sc in next 3 st, inc in next st) repeat 2 times (10)
- Rnd 4: (sc in next 4 st, inc in next st) repeat 2 times (12)
- Rnd 5: (sc in next 5 st, inc in next st) repeat 2 times (14)
- Rnd 6: (sc in next 6 st, inc in next st) repeat 2 times (16)
- Rnd 7: (sc in next 7 st, inc in next st) repeat 2 times (18)
- Slst in next st. Fasten off, leaving a long tail for sewing. Flatten the tail point and sew closed. Sew the tail point to the tail. Sew the tail to the body over rounds 29-30.
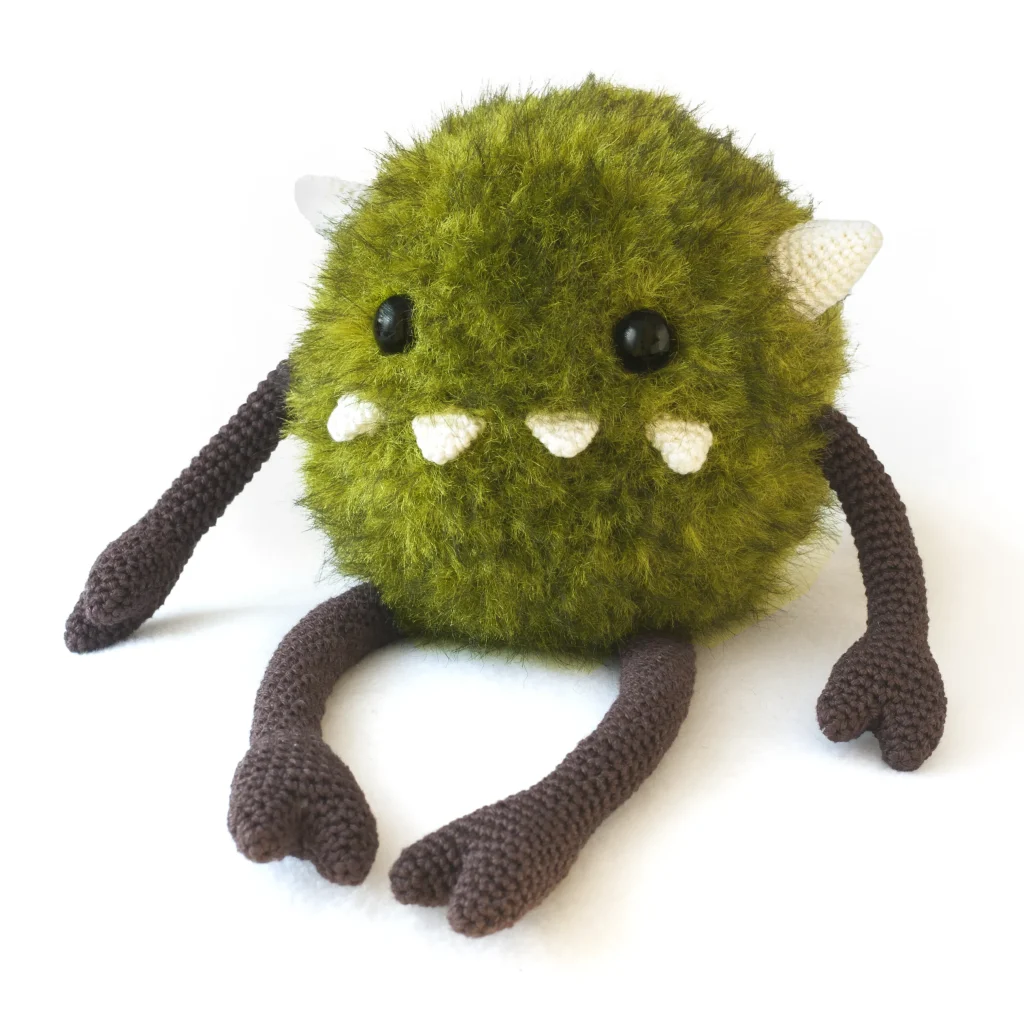
Now your monster is done! I hope you enjoyed creating this cute monster. There are many more Monster and Fantasy patterns on my blog.
Harry the Monster 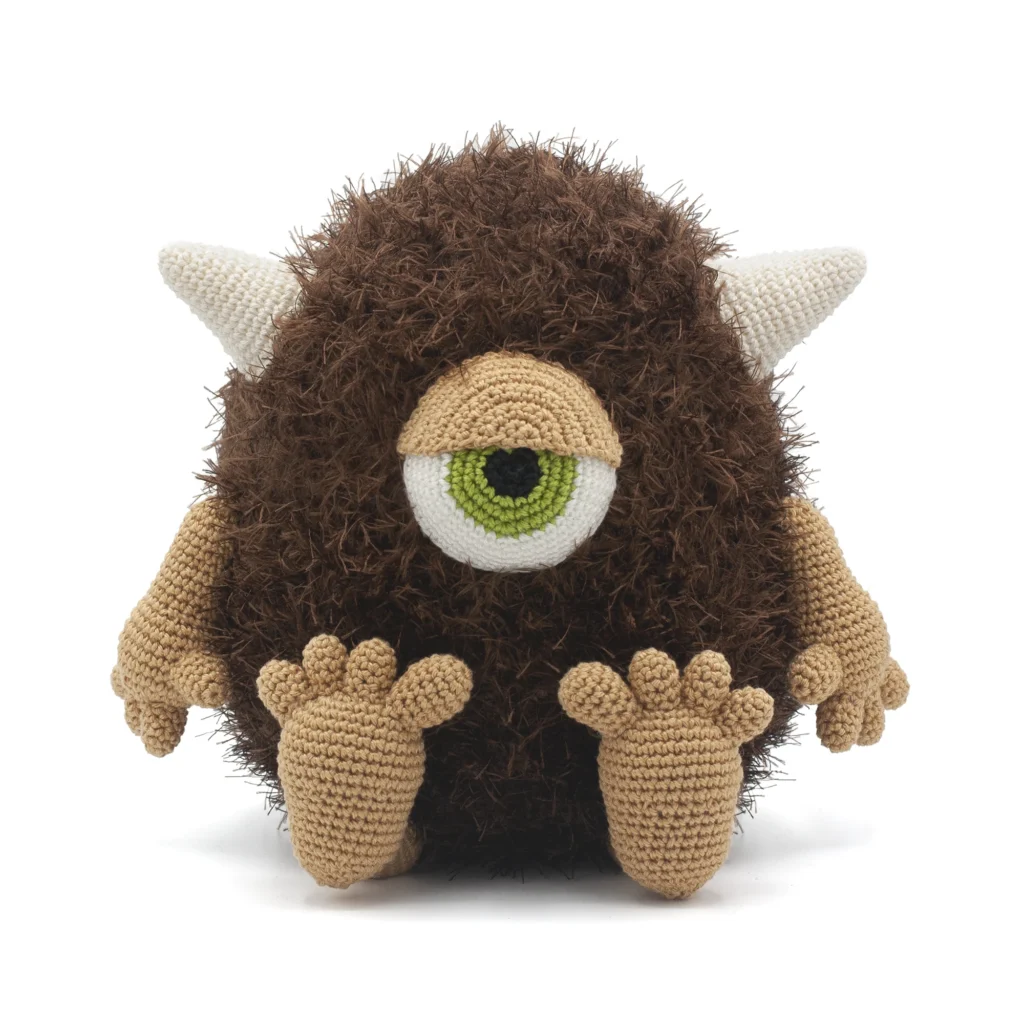
Hector the Cyclops